Pages
Overview
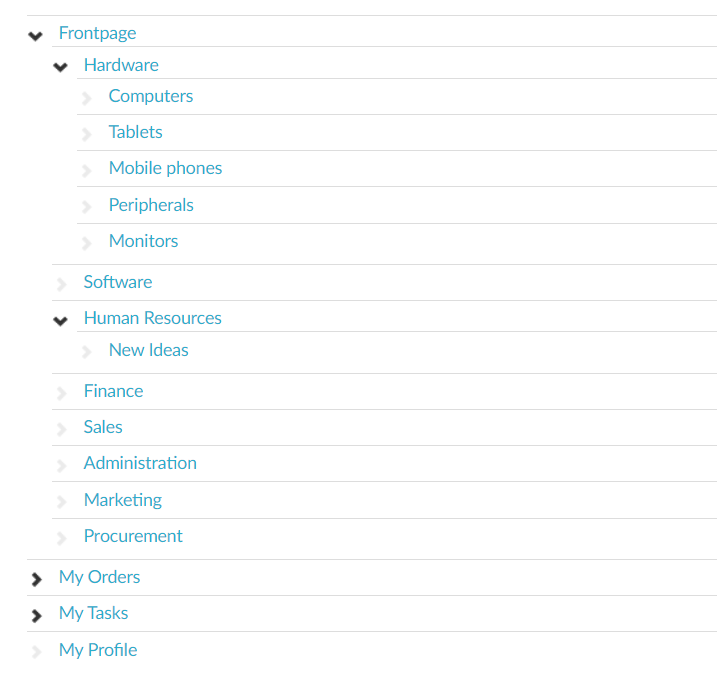
Pages are used to organize the service portal. They can be arranged in a hierarchical structure where each page can have an image. It is also possible to control whether or not to show services for descendant pages.
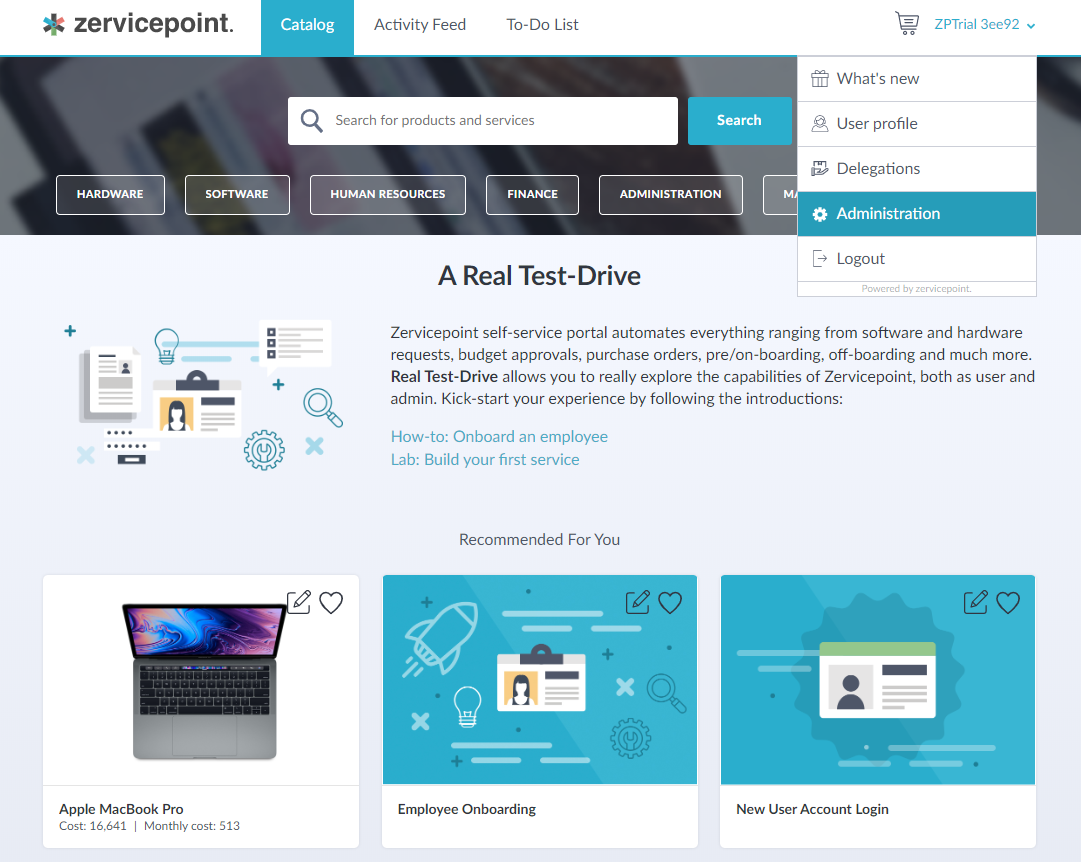
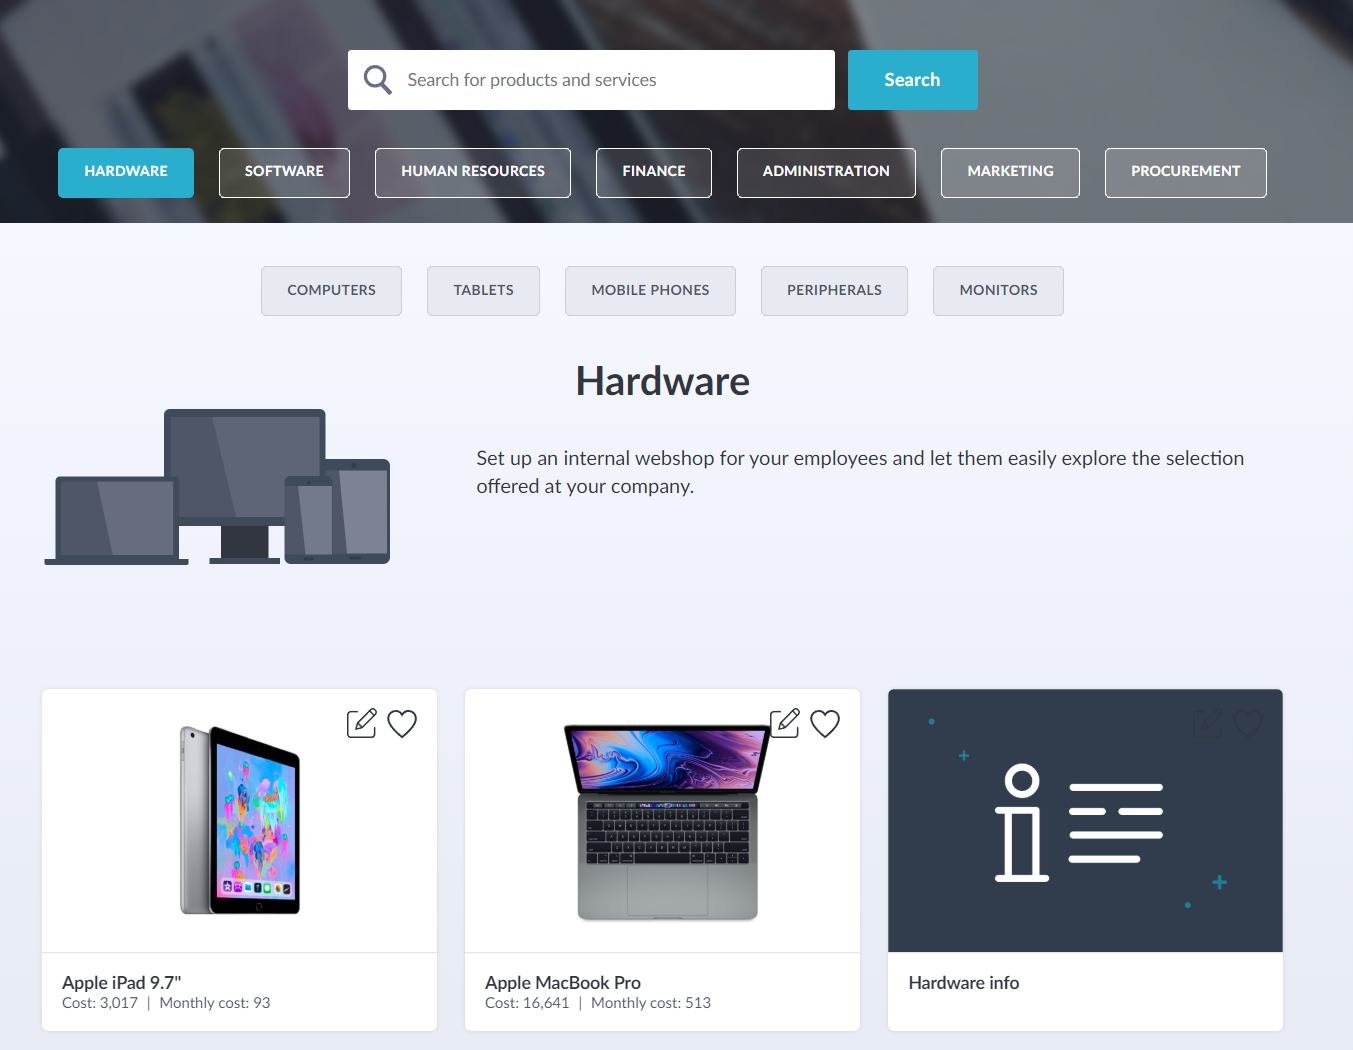
Here's an example view of pages from the user web.
Sub-pages of hardware is displayed when the hardware page is selected.
User Web
Admin Web
Info
Pages are managed by using the Admin Web or ZP Management API.
Page Settings
| Attribute | Description |
|---|---|
| Current Language | Translatable content such as display fields will be translated to this language. The information will have to be added in each language. |
| Identifier | This is the element name, mainly used when you want to modify this field using JavaScript. |
| Name | Name shown in the form for an end user. |
| Image | Upload an image (old ui). |
| Visible for roles | Display this page only for members of those roles. E.g. show IT services only for IT-Support role. |
| Parent Page | Select parent page. |
Page Sections
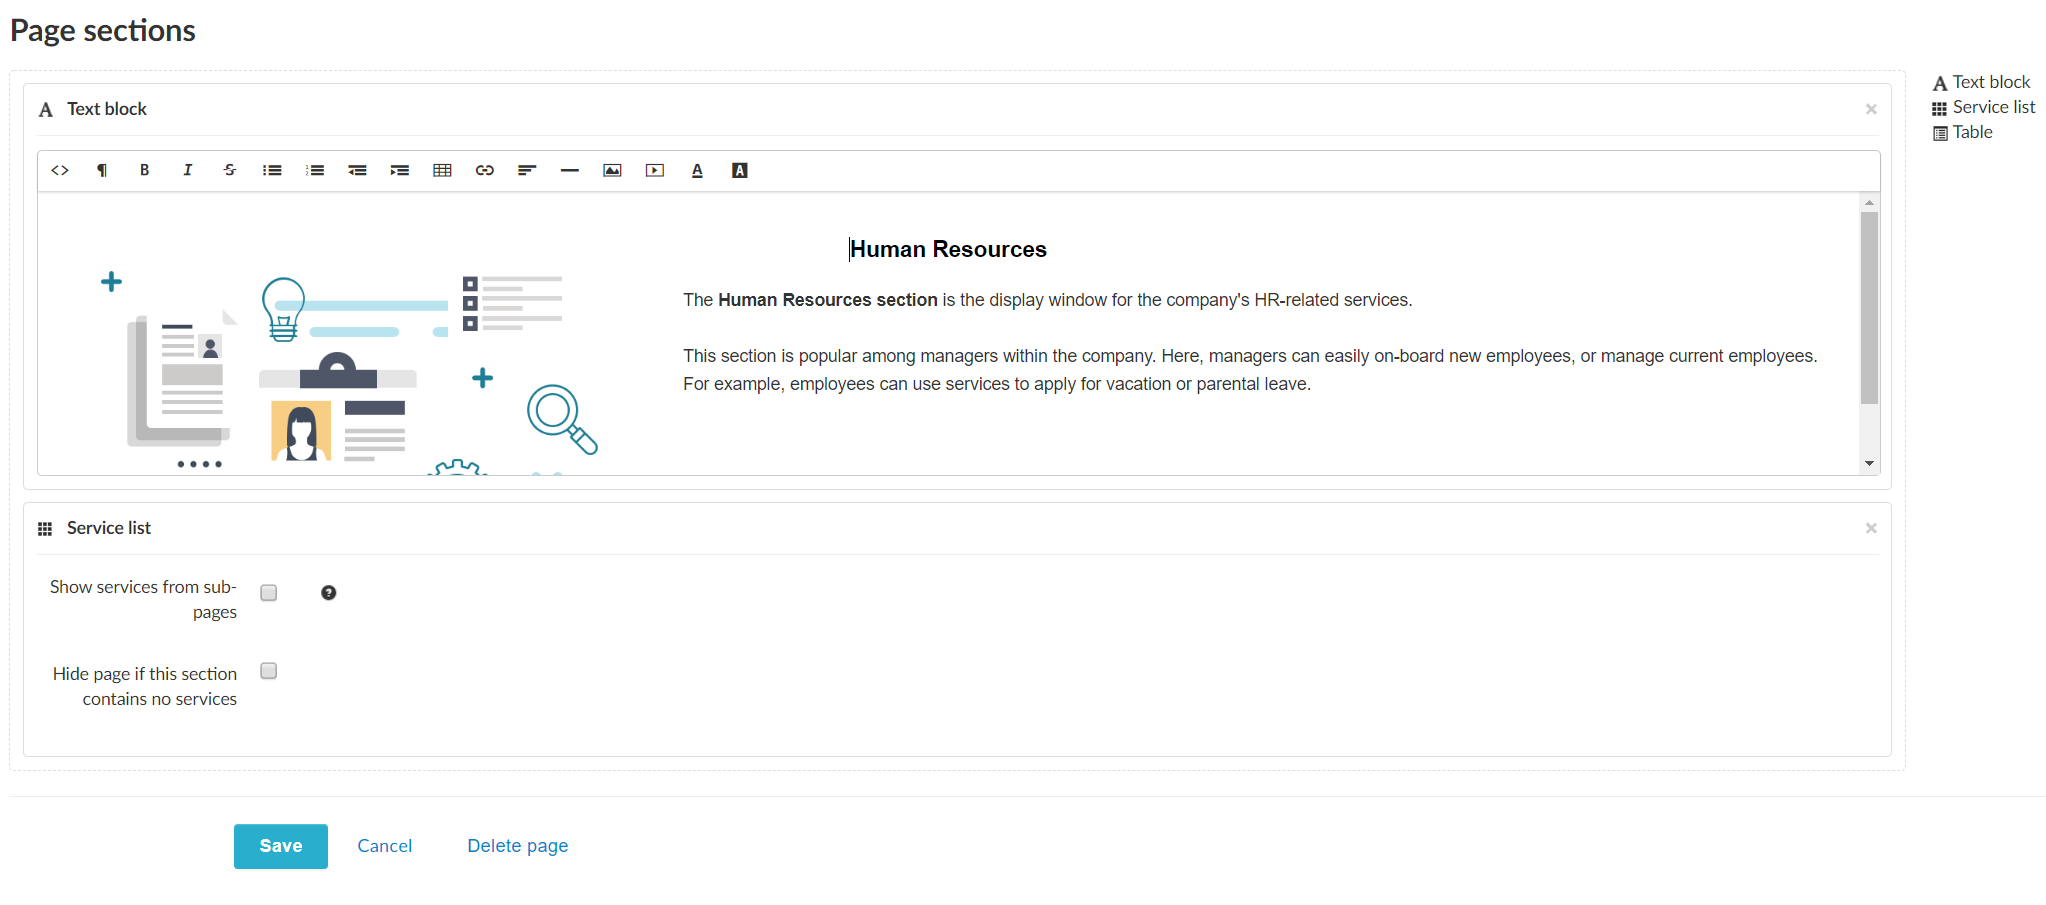
Content in a page is organized within sections and you can add multiple sections to a page. There are three types of sections:
- Text block
- Service List
- Table
Text block
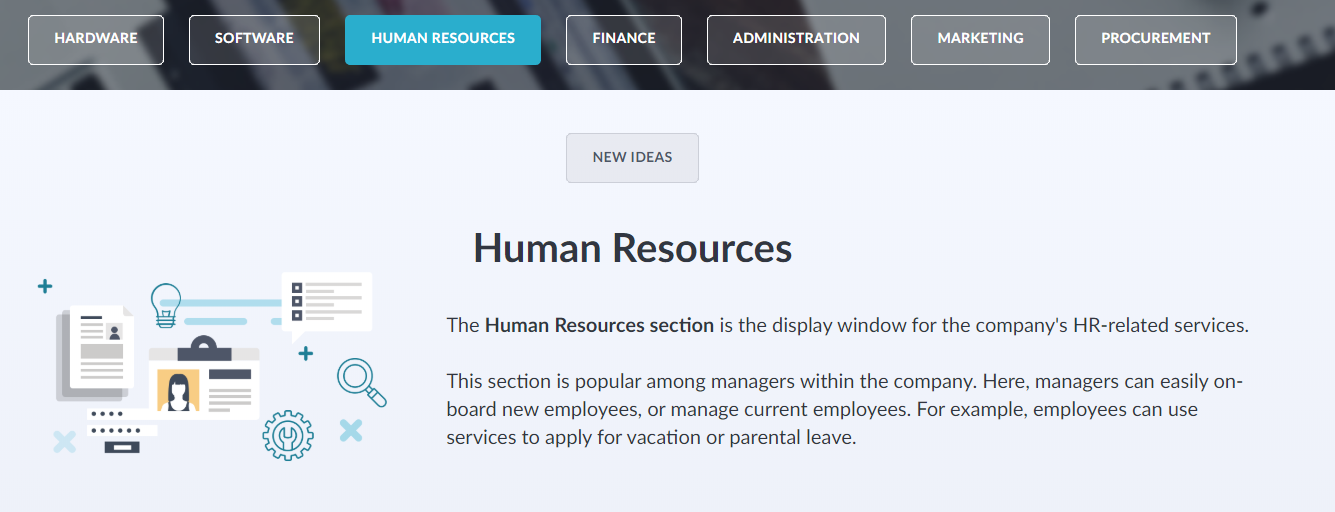
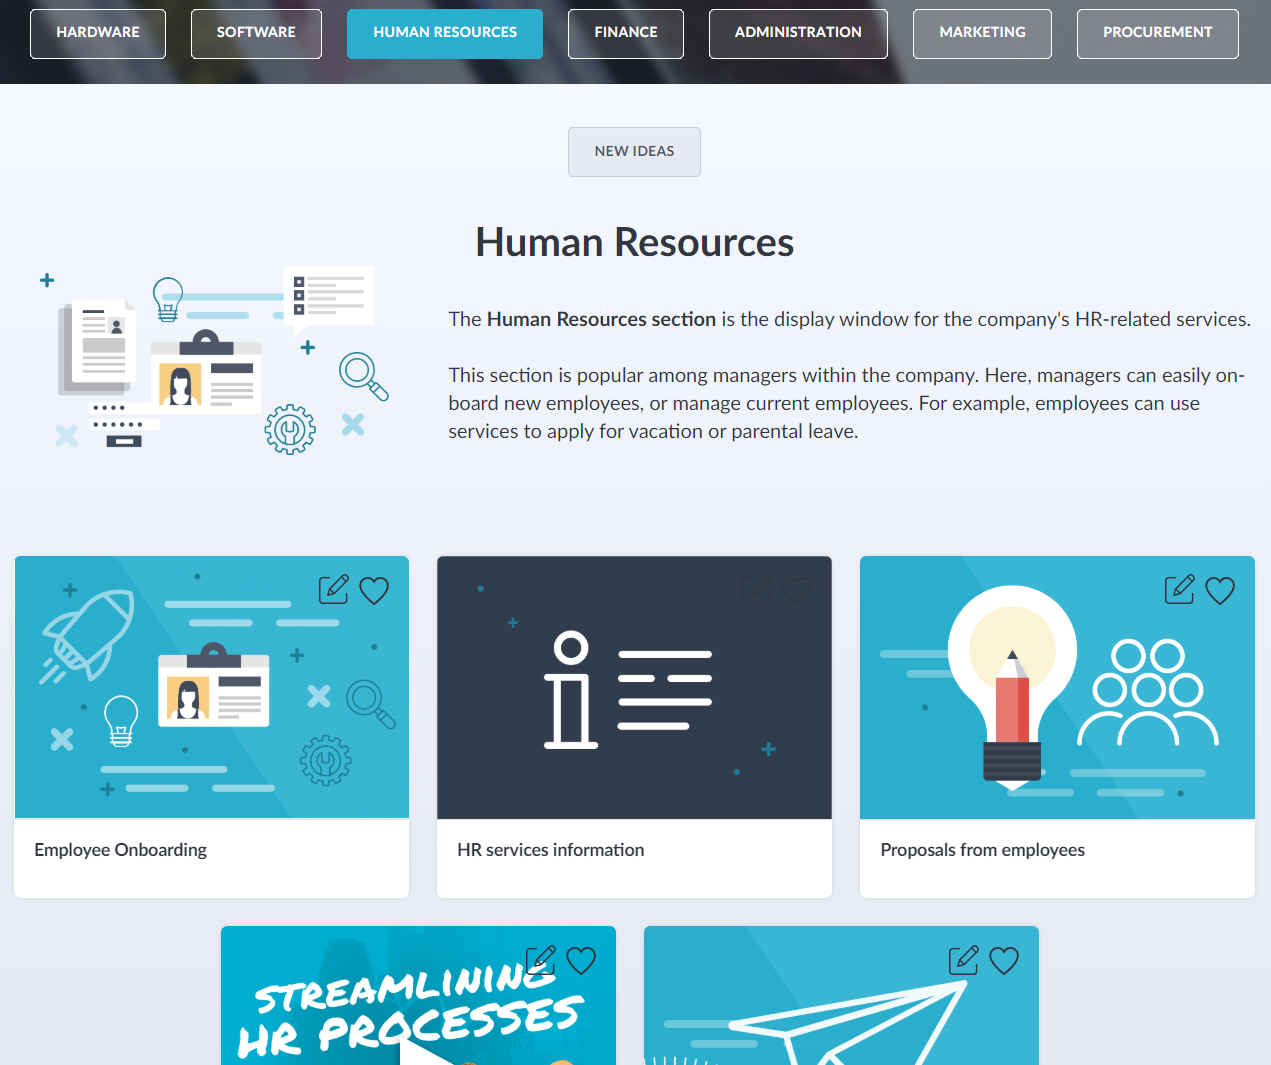
Use text block to give the end user more information of what types of services are listed within a page.
Example - Text block for HR services

Tip
Pages doesn't have to include services, a page could include instructions, as well as iframes etc.
Service list
Service list section must be added to display services that are linked with the page. You can control if services from sub-pages should be displayed as well, and if the page should be hidden if no services are linked.
User Web
Admin Web
Table
Tables can be used to display data from your own data source. It is also possible to add actions to each displayed row.
For example, you could create a table page which lists active accounts, and then add an action button which will trigger a service that can then disable that account.
| Attribute | Description |
|---|---|
| Display name | Name shown in the form for an end user. |
| Data source | Data source to use for table. The data source should return a PSObject. |
| Search parameter | Select which parameter in data source should be used for search parameter. Any typed search will used a parameter and trigger a webservice call. |
| Perform empty search on load | True/False. |
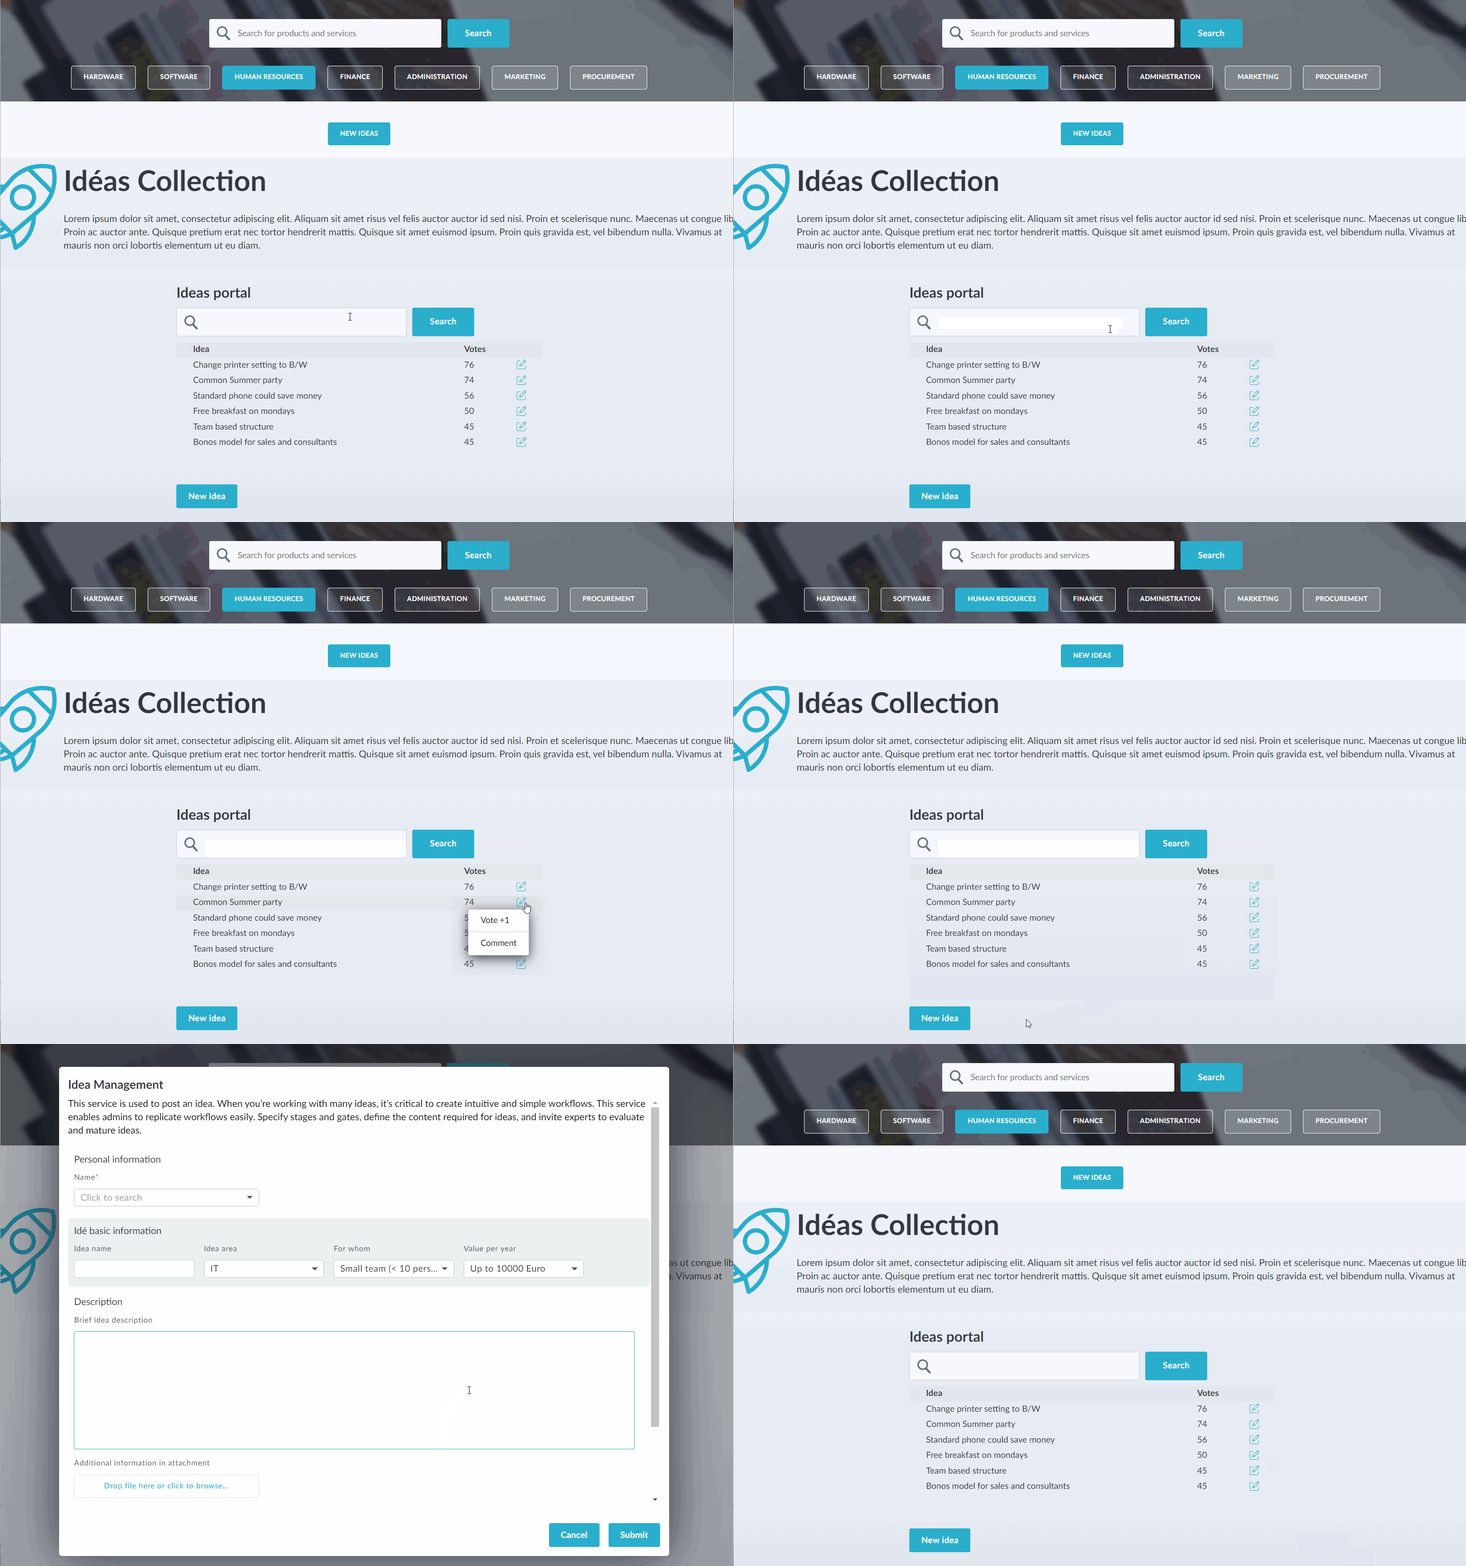
Table Columns
You can define what properties from the data source should build up the table columns, as well give properties alternate names or sizes.
| Attribute | Description |
|---|---|
| Identifier | Mark the property as the identifier. The property should be a uniqueid/guid for the returned object. |
| Display name | Name presented in the form. |
| Property name | Property name from data source. |
| Size | XSmall/Small/Medium/Large/XLarge. |
User Web - Columns
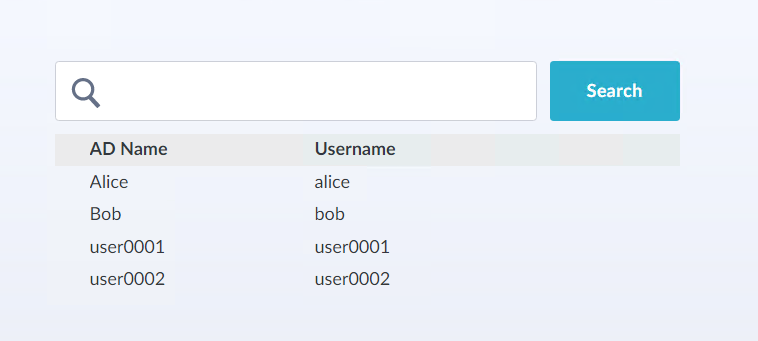
PowerShell data source output

Admin Web - Columns
The output properties from PowerShell can then be mapped to columns created in the admin web. As ObjectGUID is marked as identifier, it will not be displayed for the end user.

Table Actions
You can add actions to the table. The action itself links to a service which can be ordered directly from the table view. This is useful when you want to create a simple service that is used frequently on a lot of objects. Table actions is a topic of itself and will only be mentioned briefly here.
| Attribute | Description |
|---|---|
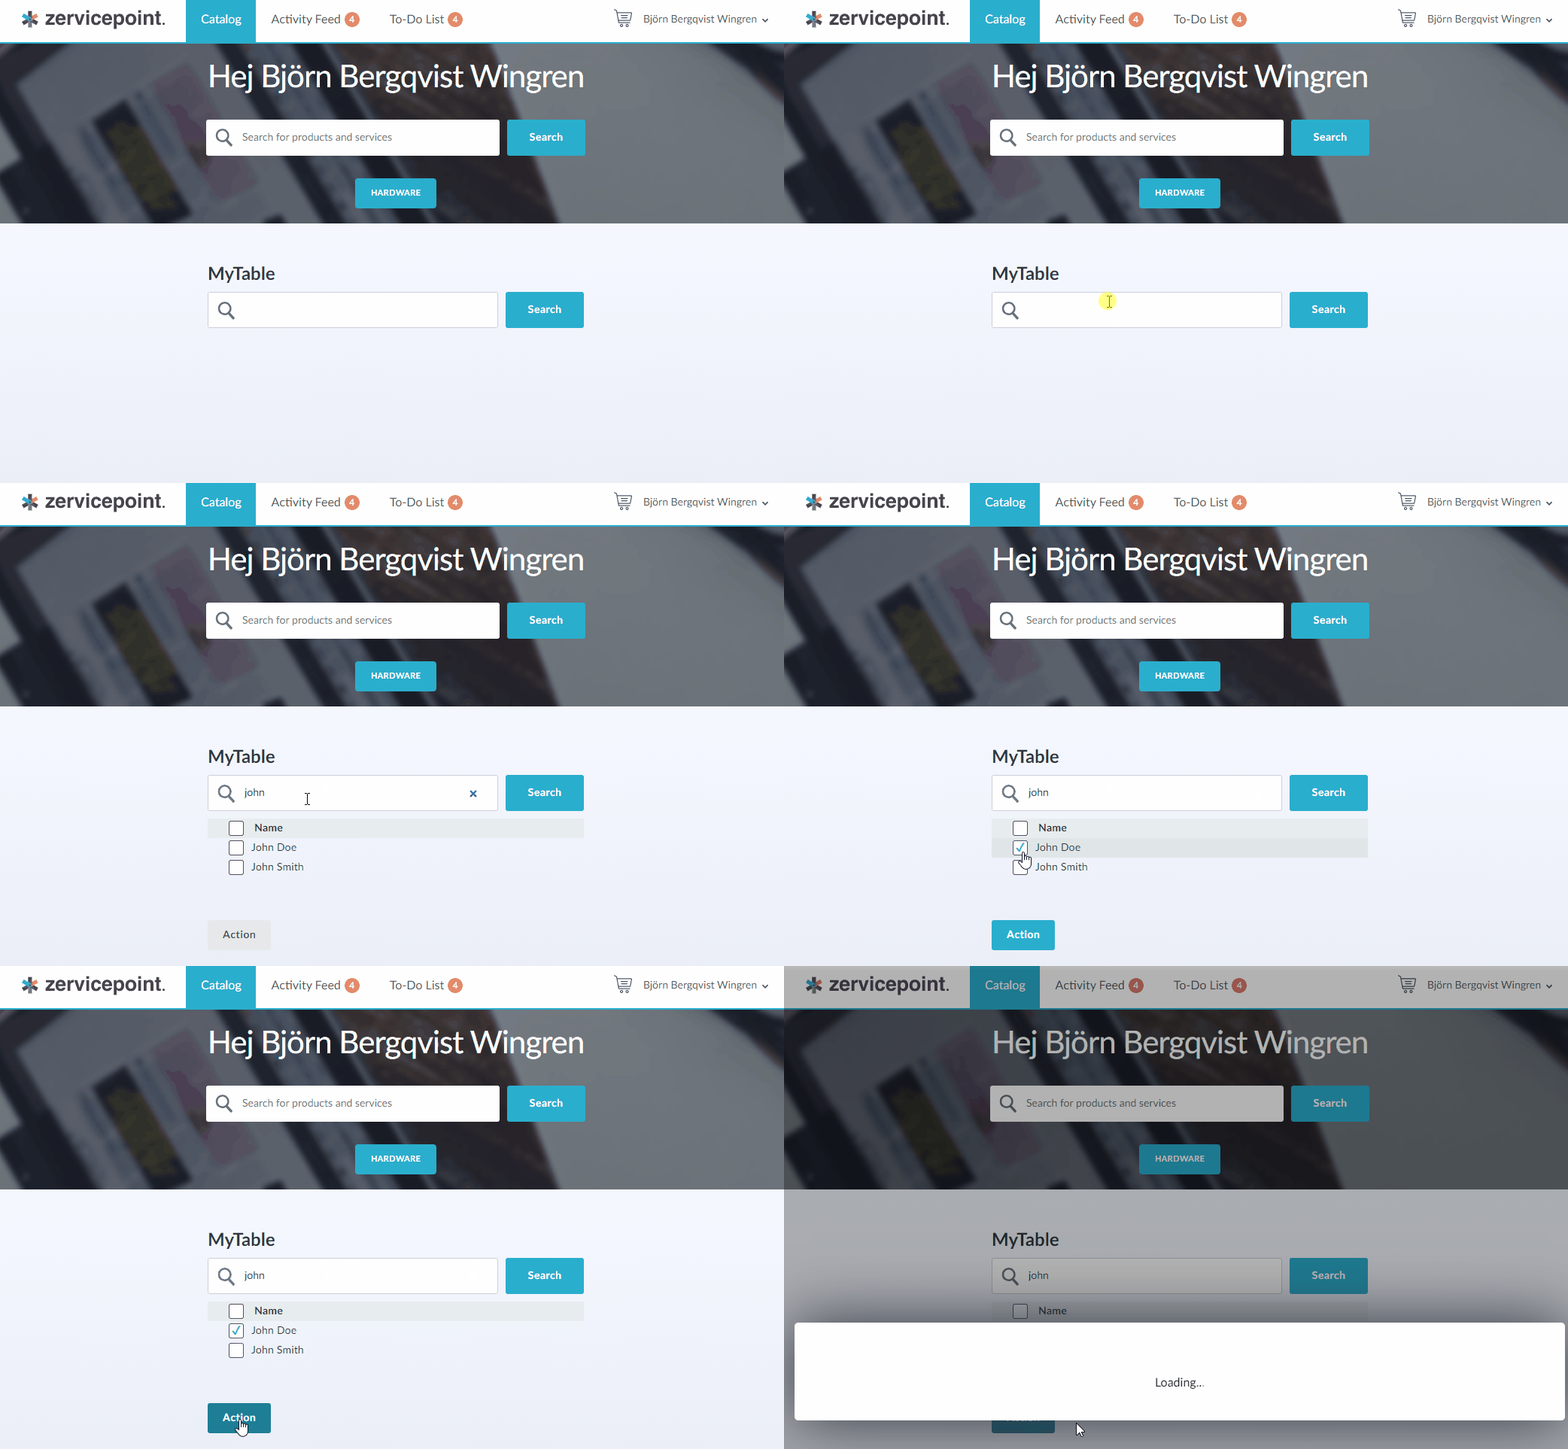
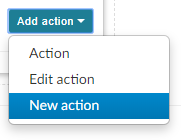
| Action | Adds a checkbox to each row and you can bind a service to an action. The variable System.Object.Id will contain the value marked as Identifier. An order is placed for each checked row. |
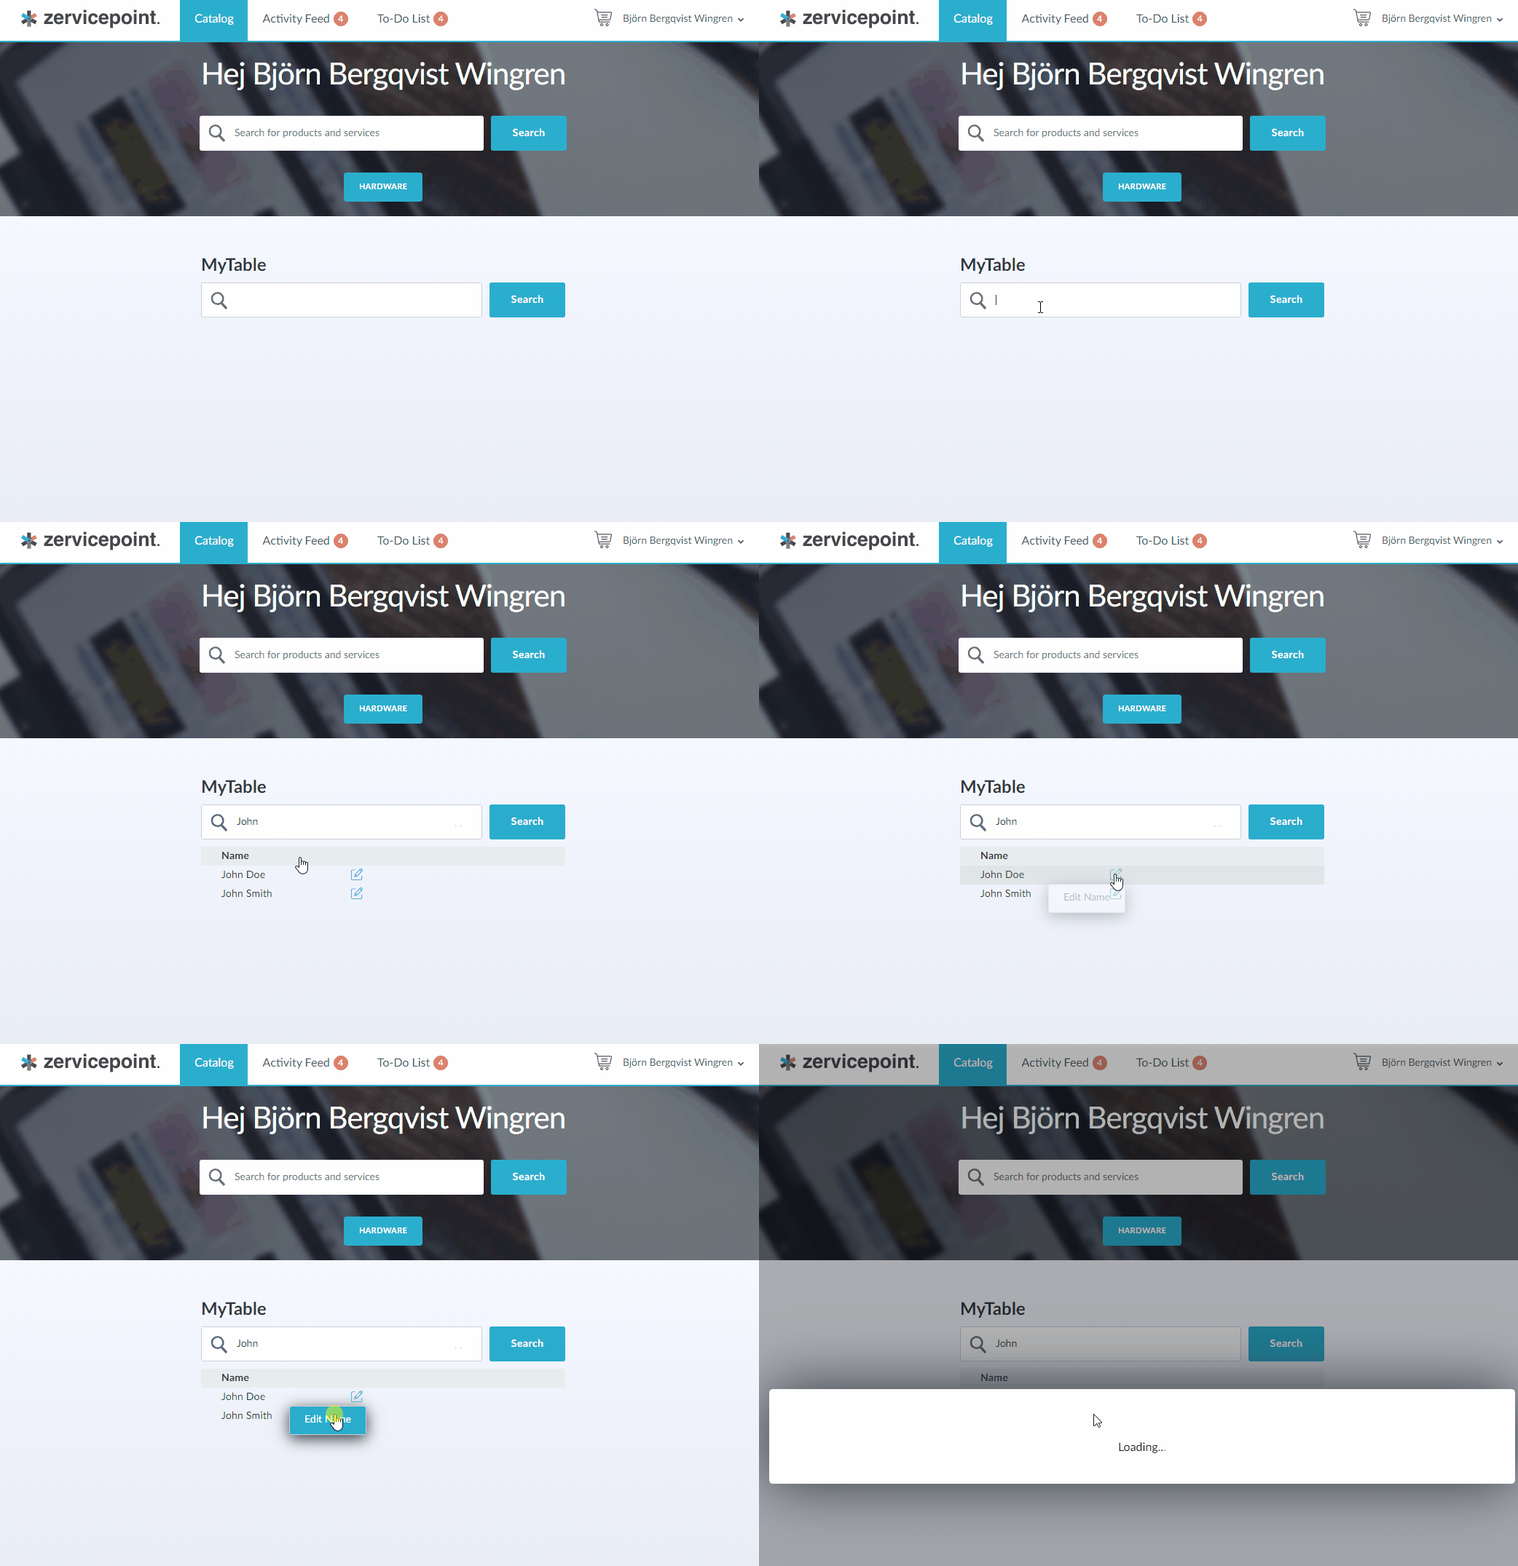
| Edit Action | Default edit action executes when the user clicks the row. There can only be one default editing action per table. Non-default editing actions are available in the dropdown menu on each line. |
| New Action | Place a shortcut to a service below the table. |
Action use-case
Action's is a helpful tool when end users demand capabilities to send orders or tasks based on a singel or multiple members in a table.
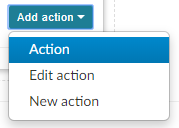
Common use-cases:
- Activate account/Activate accounts.
- Deactivate account/Deactivate accounts.
- Set task/Set tasks.
- Add comment to task.
- Remove existing table member.
Edit action use-case
With Edit action's you have the opportunity give the end user the ability to alter a members data in a table. Simply introduce the action to your table and connect the action to a service that handles the desired change.
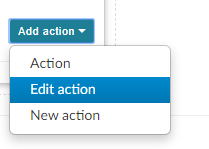
Common use-cases:
- Edit property.
- Edit task.
- Update existing table member in database.
New action use-case
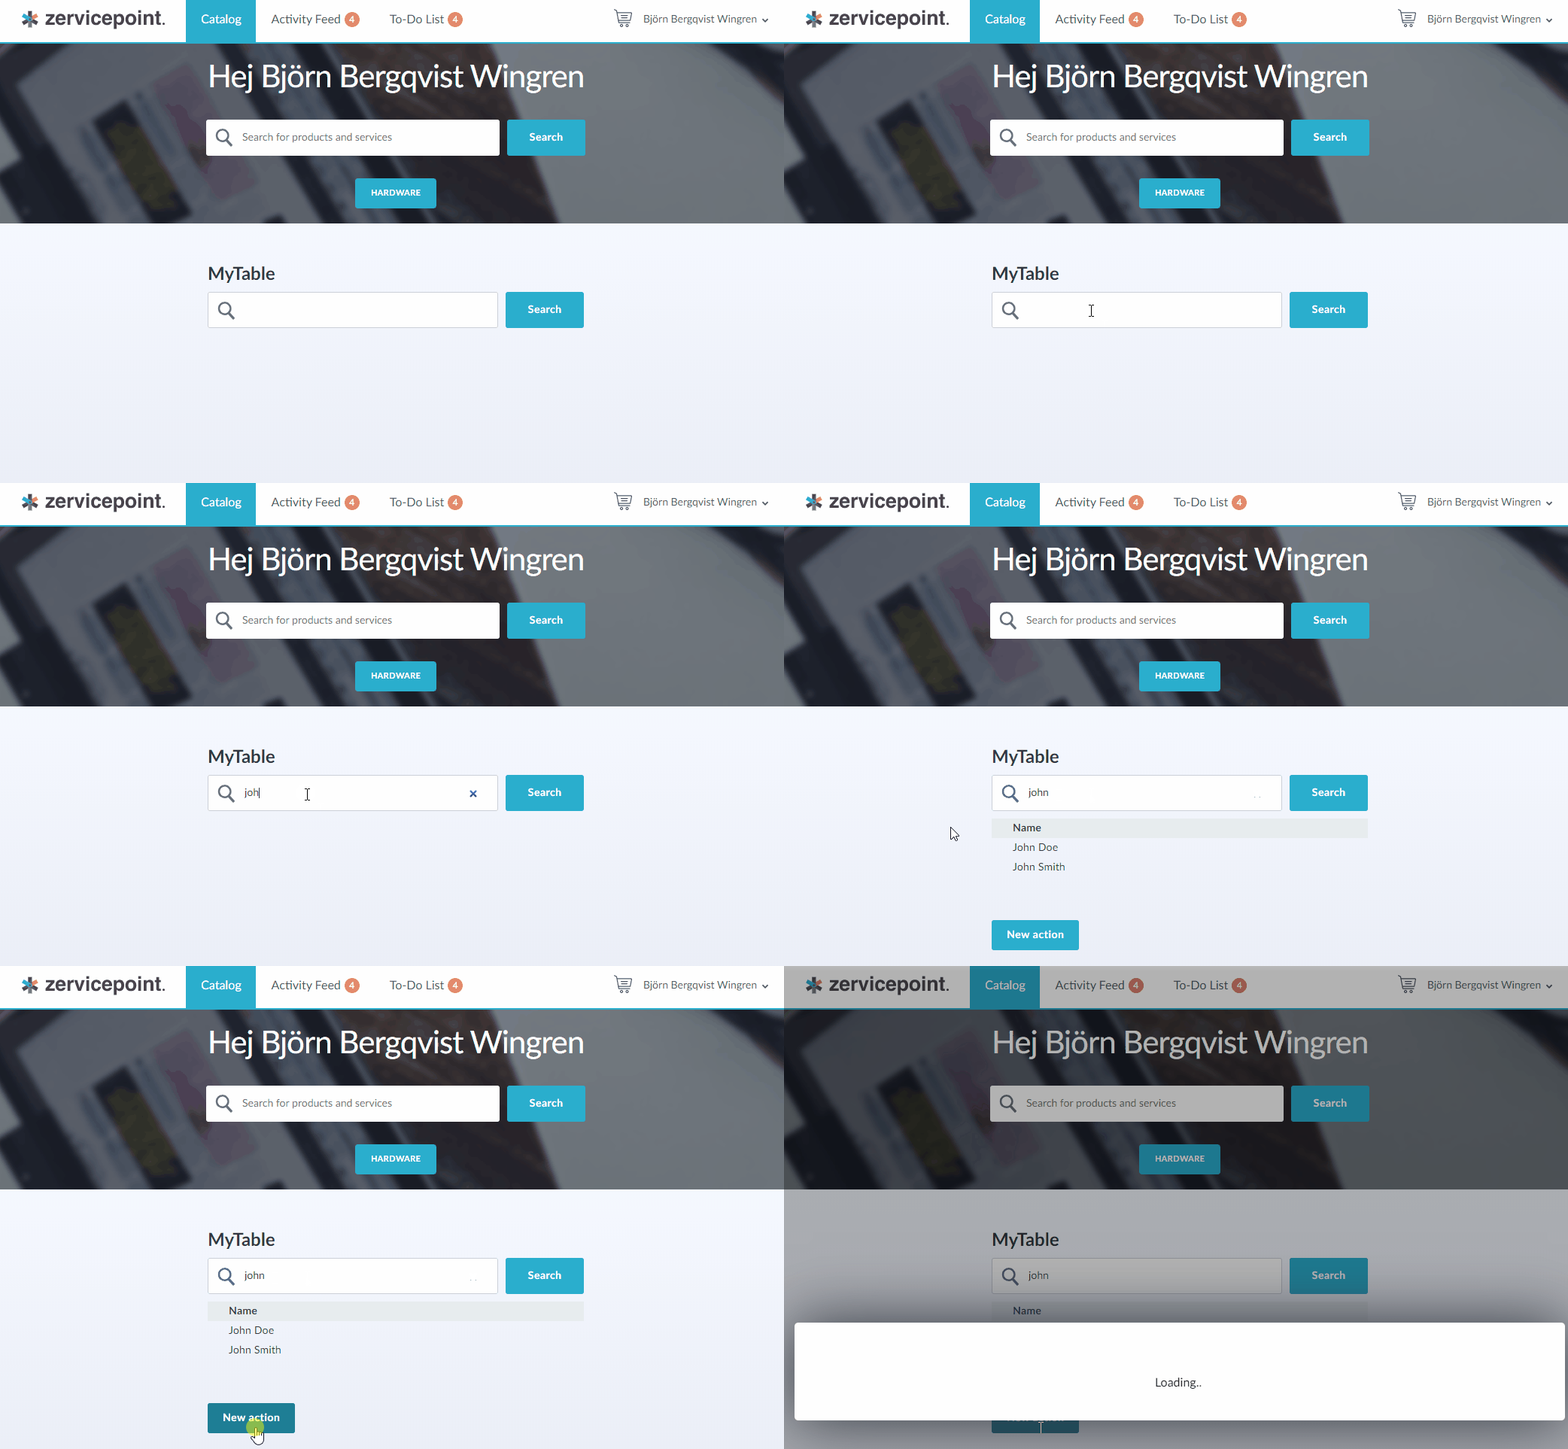
If the end user has the need to create new members in a table it can be made possible with New action's. Introduce the action to your table and connect the action to a service that creates the new member and pushes the result.
Common use-cases:
- Create new user account.
- Create new task.
- Create new table memeber in database.
Step by Step guide
-
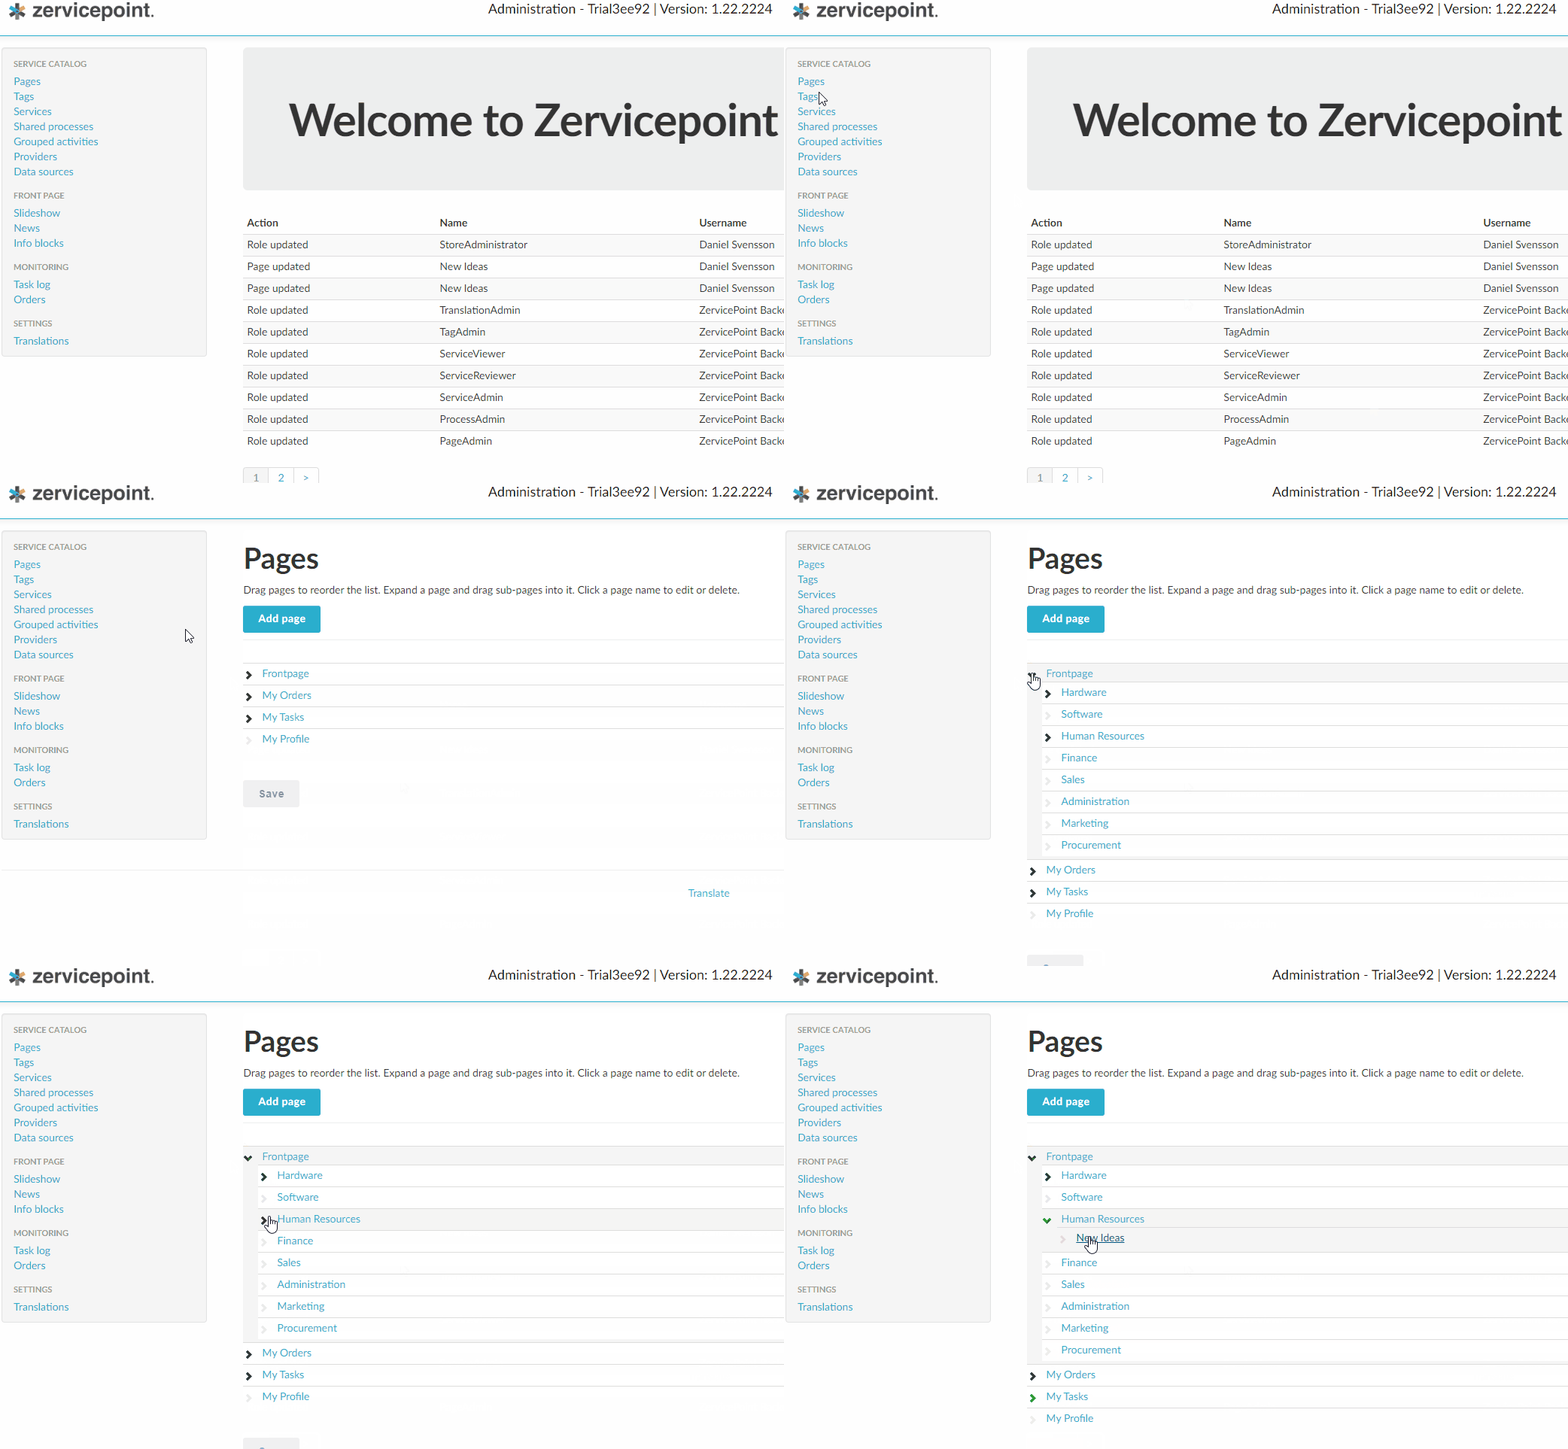
From the User App navigate to Administration.
Navigate to admin webb
-
Navigate to Pages and select a page where you want the table to be shown. Or create a new sub page.
Navigate to Pages
-
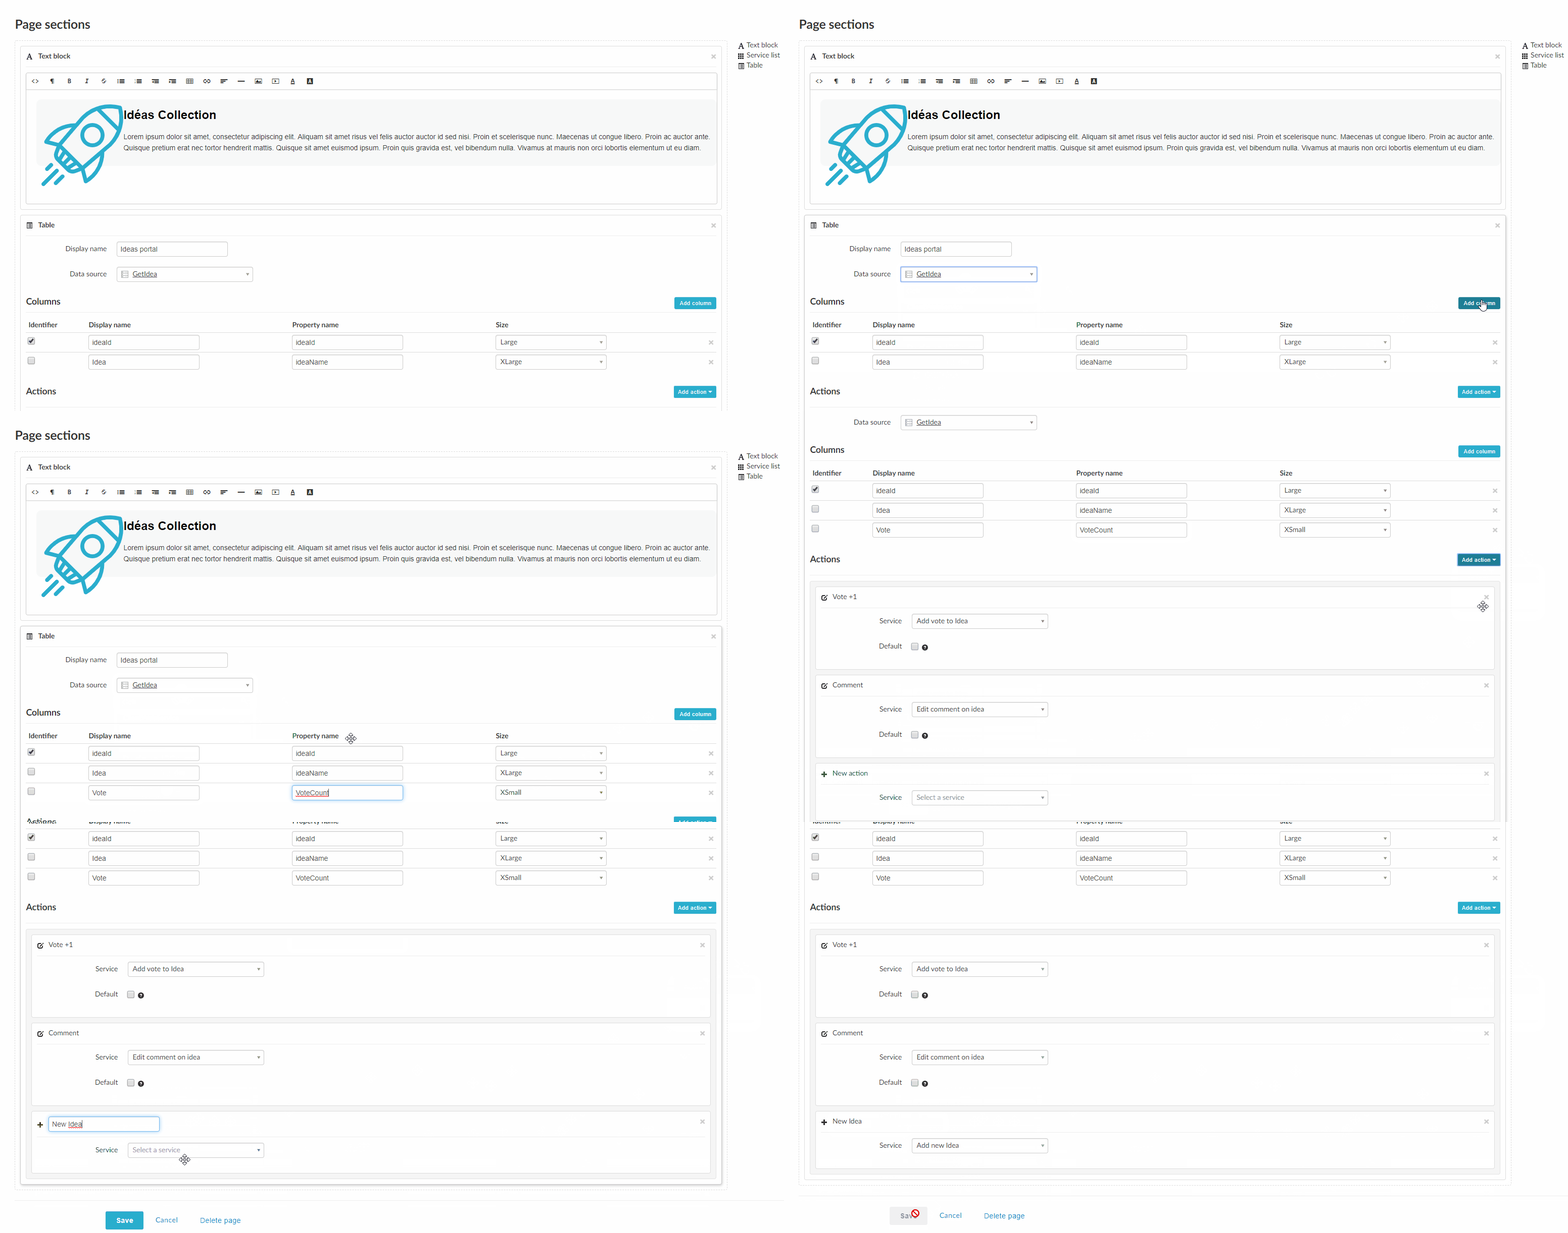
To add a table to the page simply click or drag and drop the table tool to the Page sections editor.
Customize table and add actions to page
-
Choose a display name for the table and select a Data source.
- Add the columns that you want to be shown in the table and map the Proptery name with the data source.
- Add an action e.g. Action, Edit action or New action.
- Select a Service.
-
Go back to the User App and select your recently edited page.
Navigate to User App to view result

-
Perform a search and a selection.
- Place an order and you are all set.
