Install worker
Ensure you have followed Plan for worker installation guide.
Setup signing certificates for Client Web Service
First prepare signing certificates for Client Web Service. This involves the following:
- Download Token Signing Certificate to worker server and import to the personal store of the machine (LocalMachine\My).
- Generate self-signed data signing certificate from worker server and upload to store
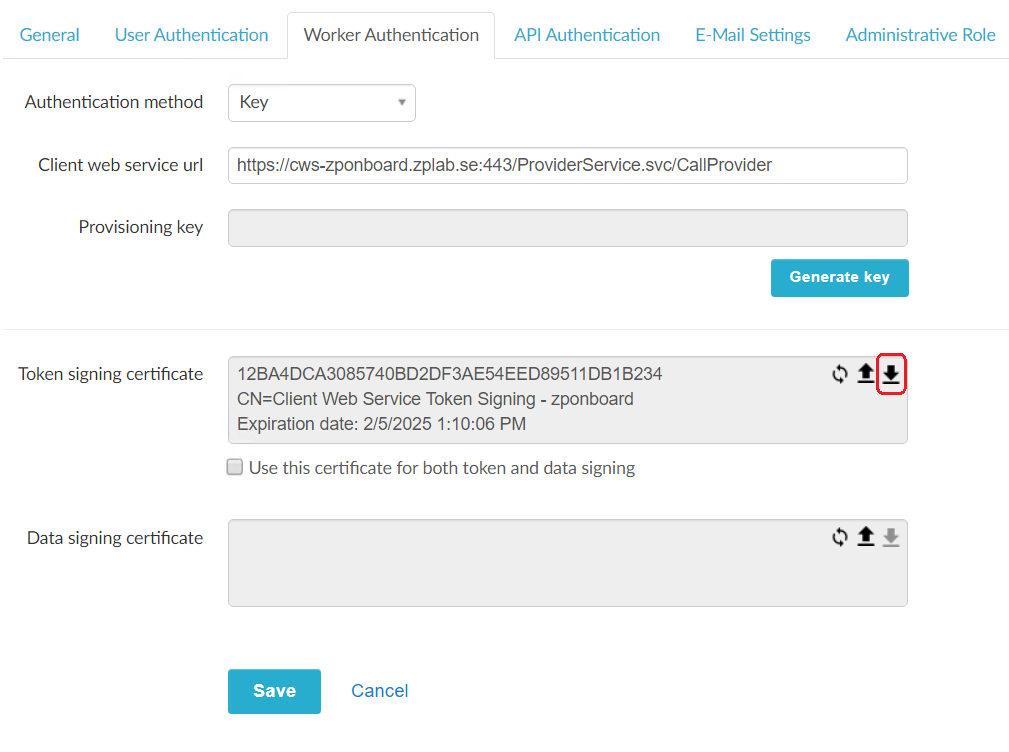
Download Token Signing Certificate
Go to Zervicepoint Admin Web
- Download Token Signing Certificate from AdminWeb > Edit Store > Worker Authentication
Take a note of the thumbprint of the certificate as it will be used later for the installation.
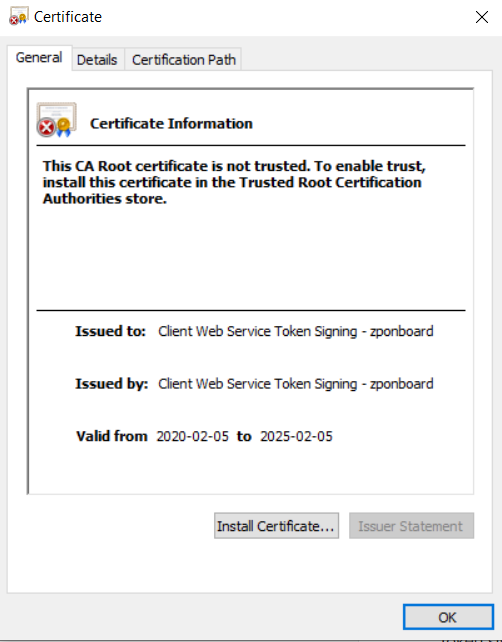
Install Token Signing Certificate
- Double-click the "certificate.cer"
-
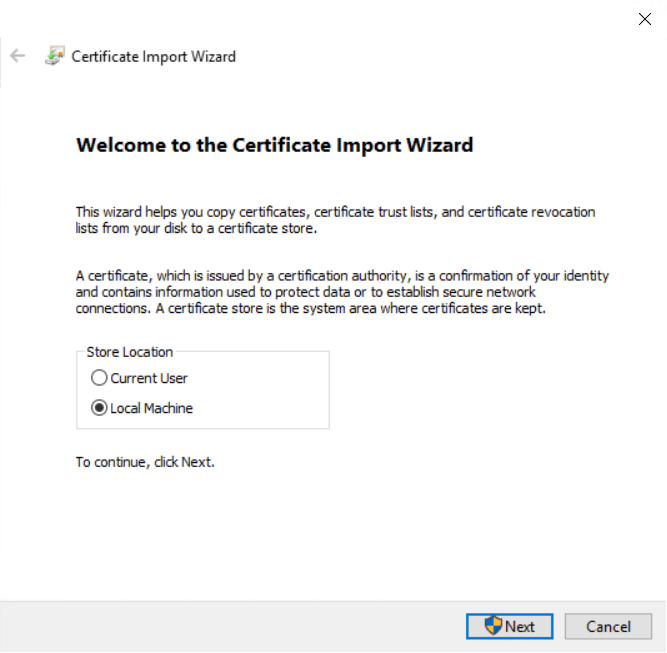
Click "Install Certificate..."
-
Select "Local Machine"
-
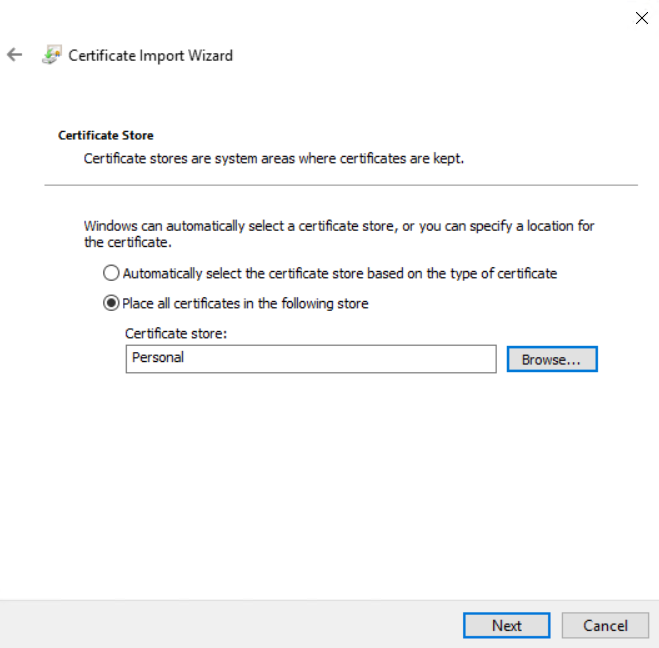
Select "Place all certificates in the following store" and browse to "Personal"
-
Click "Finish"
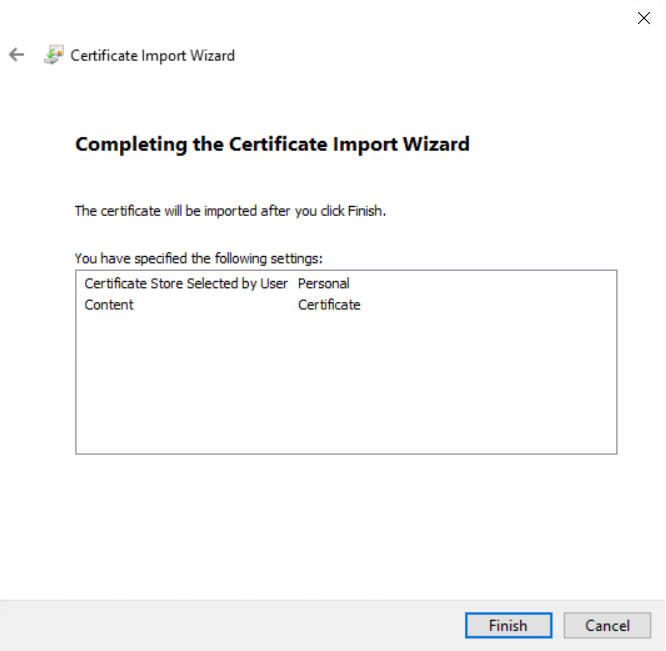
The Token Signing Certificate is now installed.
Generate Data Signing Certificate
Run the following command in PowerShell (Run as administrator) in order to generate a self-signed certificate for data signing and then export the public certificate to C:\Cert folder.
$StoreName = "MyStoreName"
$cert = New-SelfSignedCertificate -Provider "Microsoft Enhanced RSA and AES Cryptographic Provider" -Subject "CN=Client Web Service Data Signing - $($StoreName)" -CertStoreLocation "cert:\LocalMachine\My" -Type CodeSigningCert -KeySpec Signature -KeyLength 2048 -NotAfter (Get-date).AddYears(5)

New-Item -ItemType Directory -Path C:\Cert -ErrorAction SilentlyContinue

Export-Certificate -Cert $cert -FilePath C:\Cert\$($cert.Thumbprint).cer -Type CERT
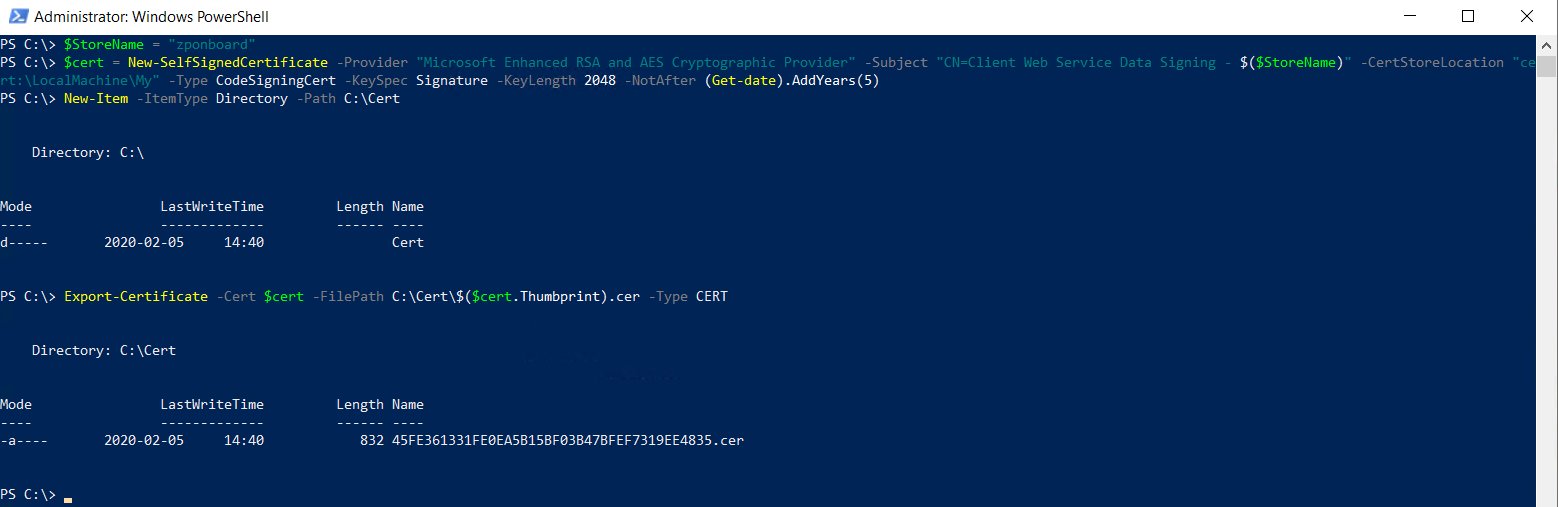
Take a note of the thumbprint of the certificate as it will be used later for the installation.
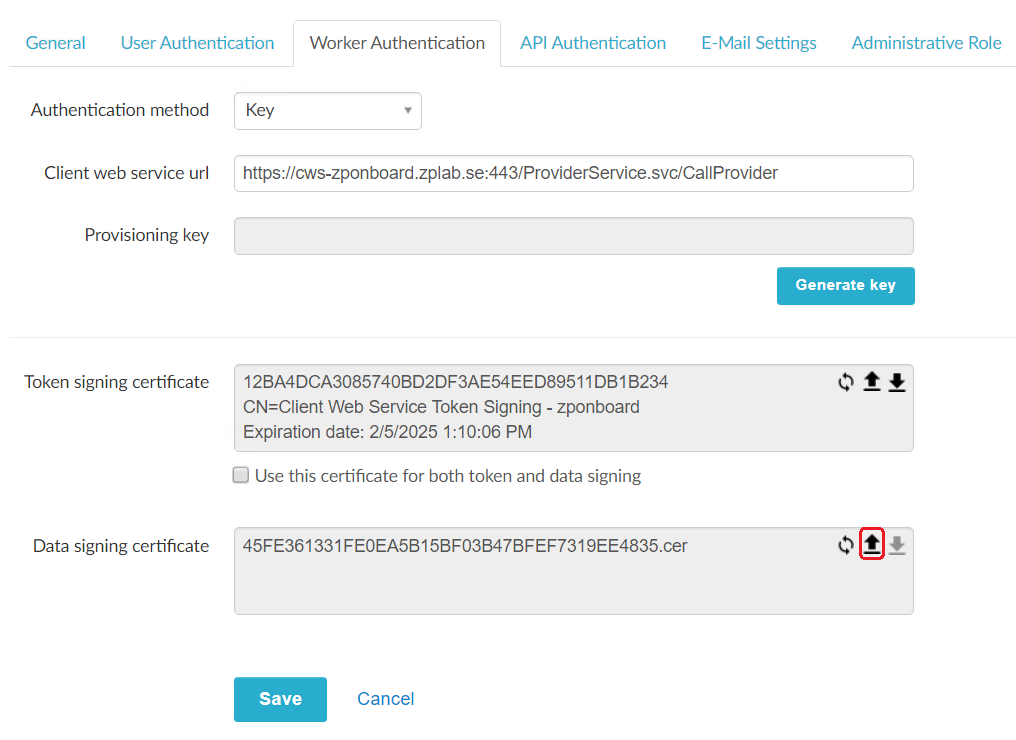
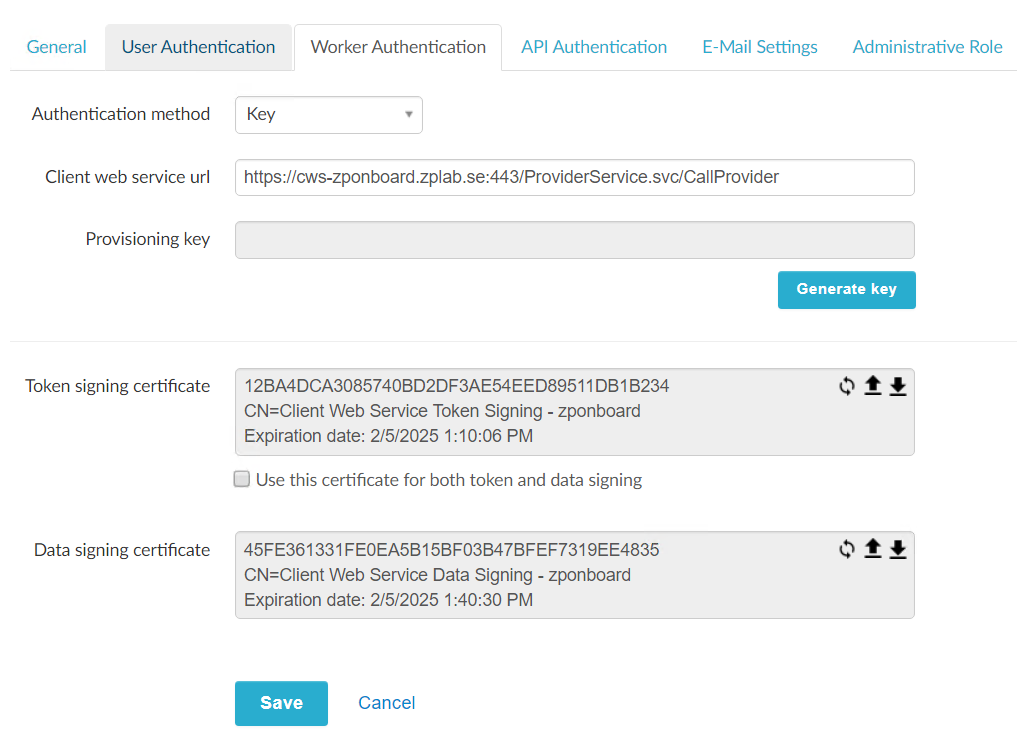
- Upload data Signing Certificate to AdminWeb > Edit Store > Worker Authentication > Data signing Certificate > Upload certificate > Save
Download Zervicepoint media
Zervicepoint Worker media is available in AdminWeb > Edit Store > Worker Authentication tab.
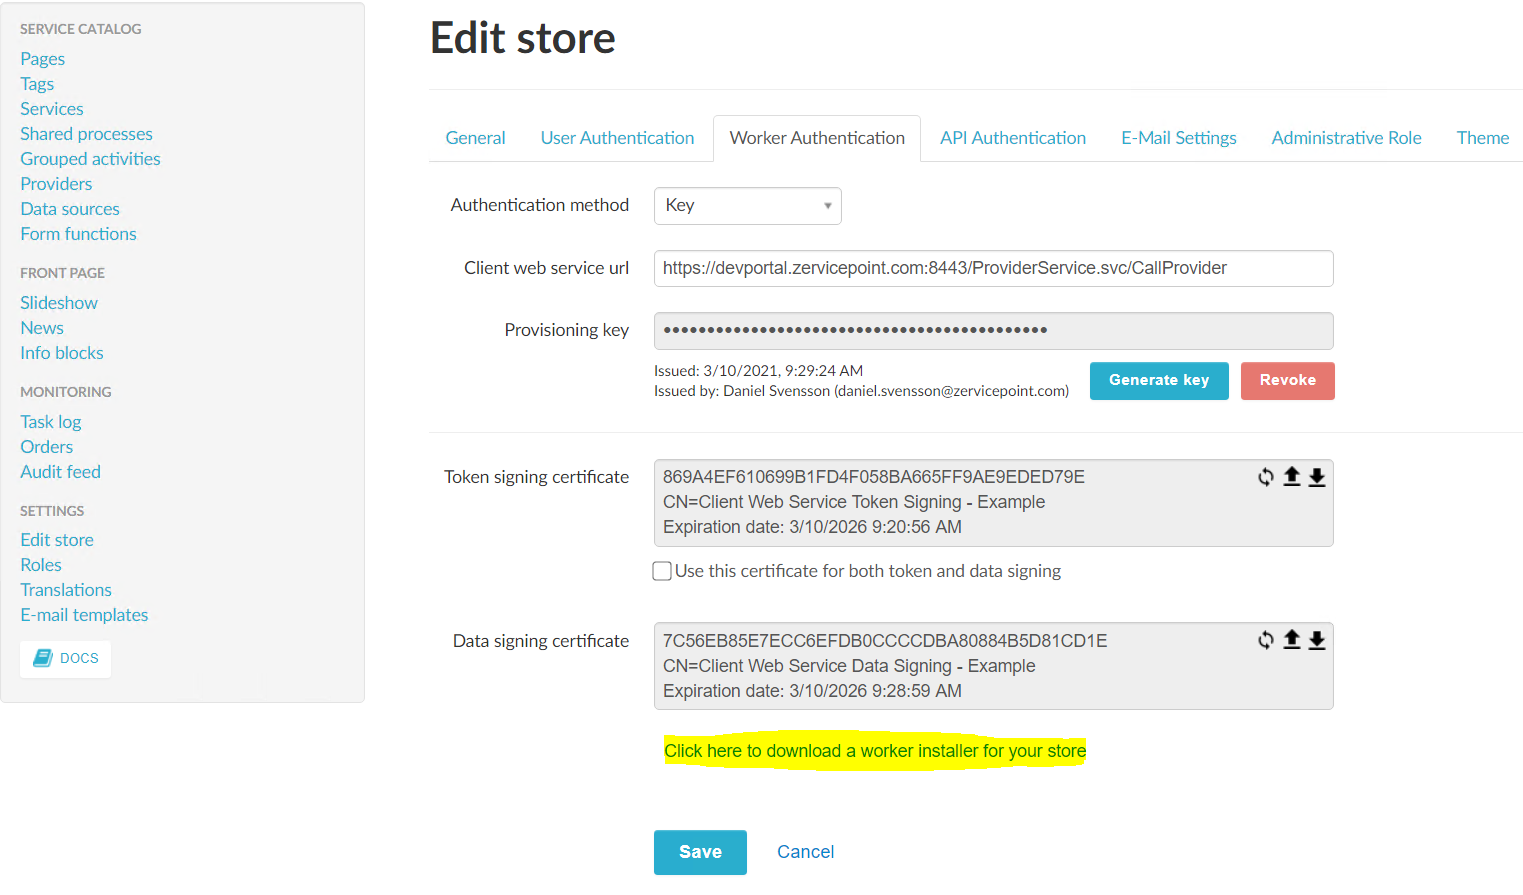
ZervicePointWorkerSetup.zip contains two files.
-
ZervicePointWorkerSetup.exe is the installer
-
ZervicePointWorkerSetup.xml is a configuration file that contains the current store settings when downloading the media.
If you make any worker authentication changes that affect the Worker media, you must download a new media.
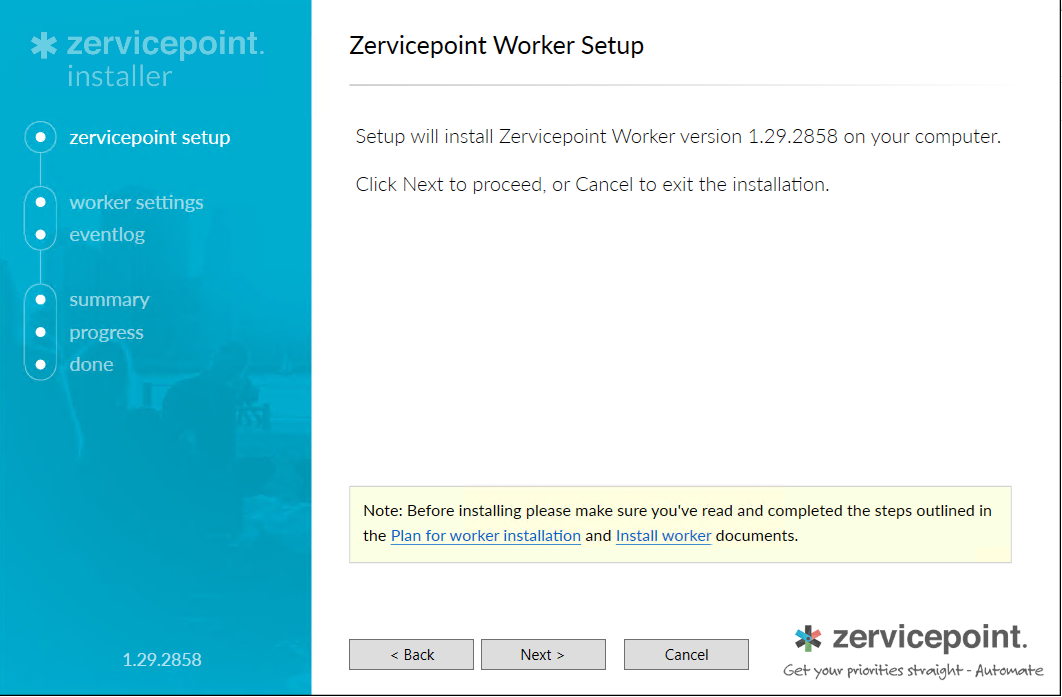
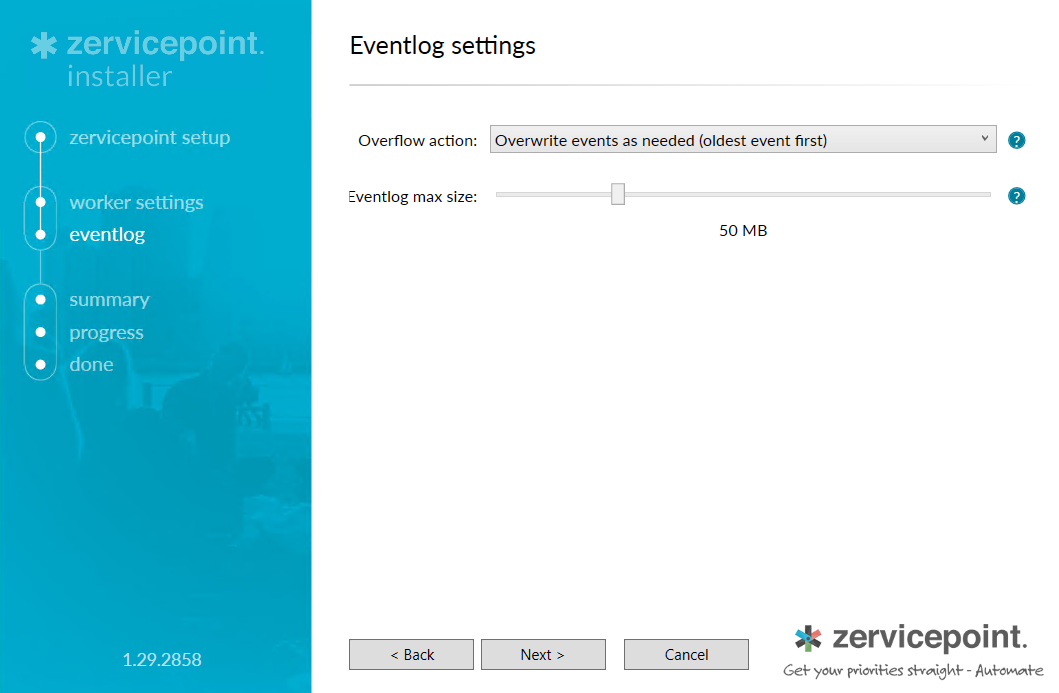
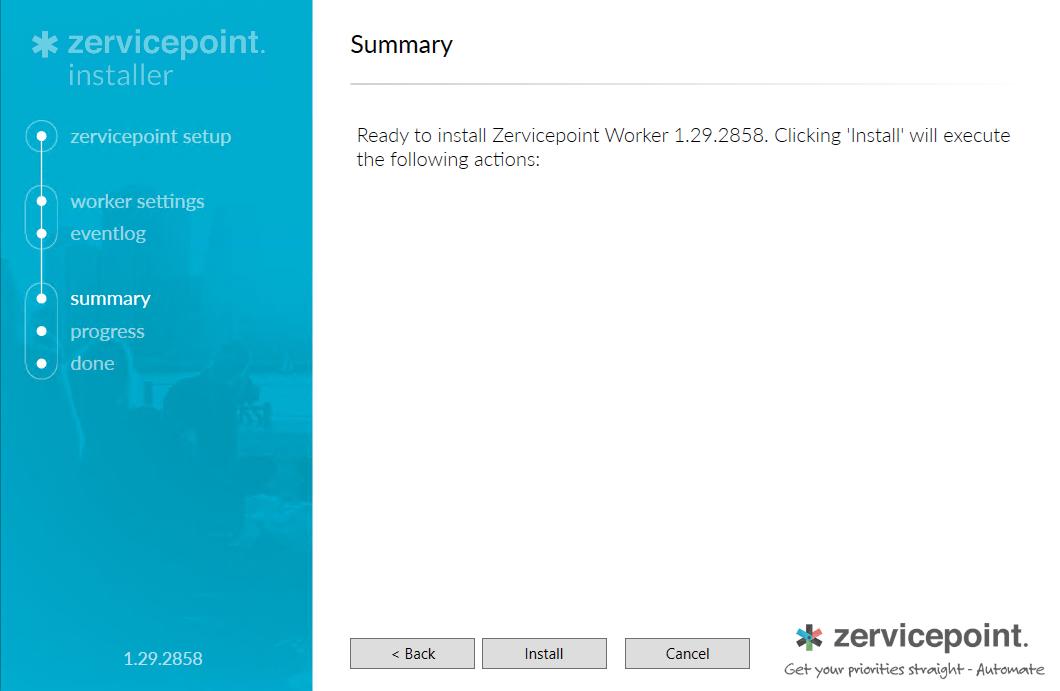
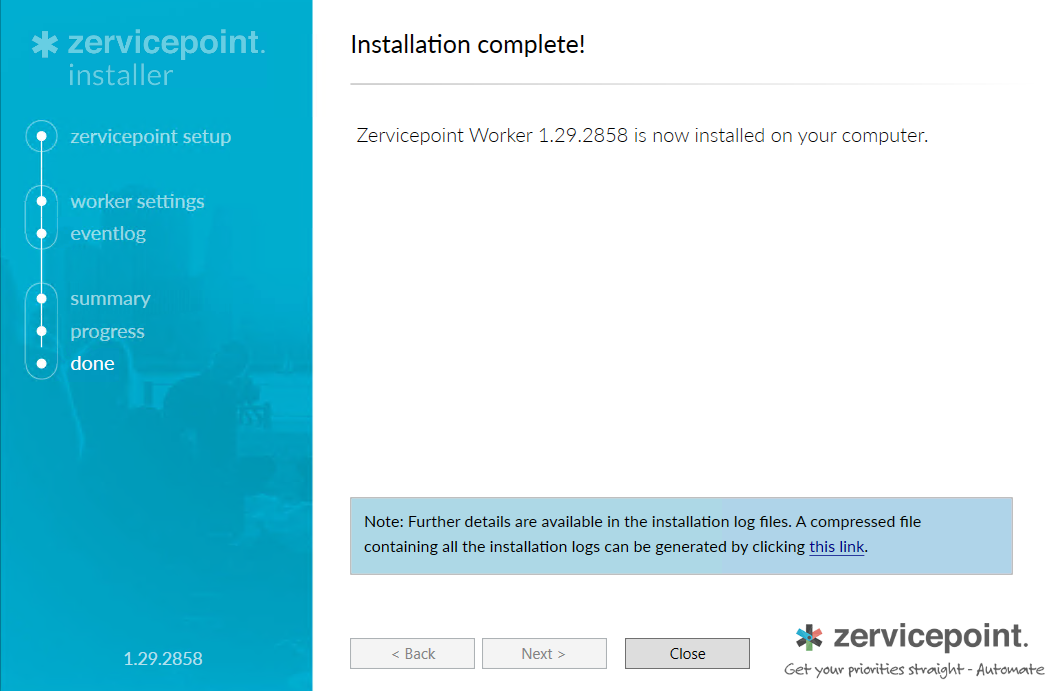
Install Zervicepoint Worker
On the worker server, extract the ZervicePointWorkerSetup.zip and run ZervicePointWorkerSetup.exe.

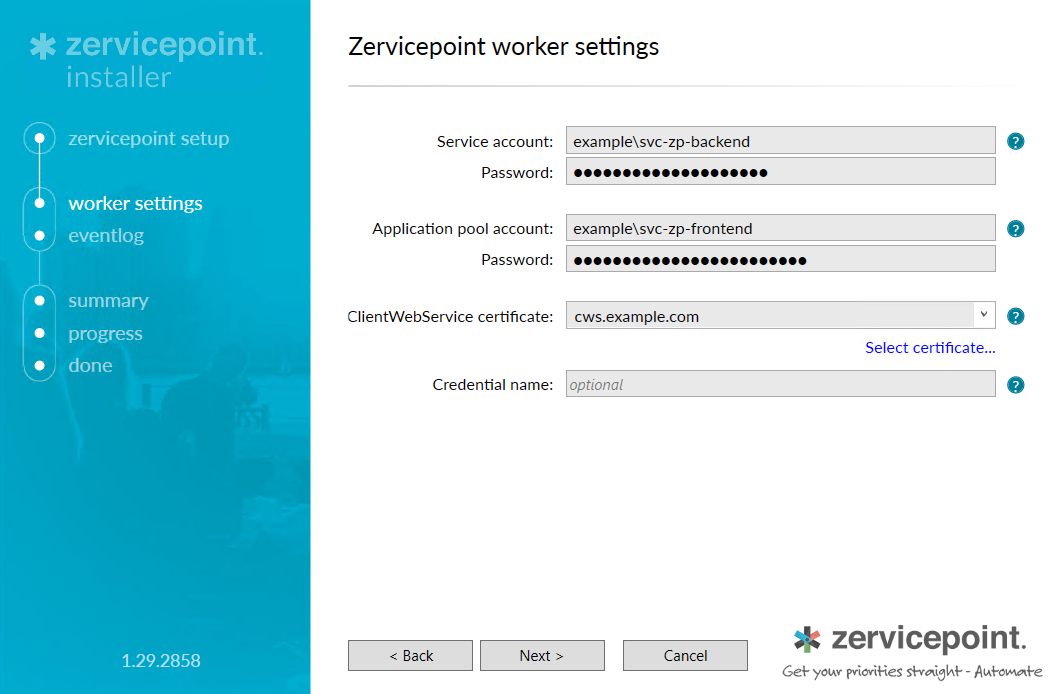
- Service account (This account runs Provisioning System and Provisioning Inventory System services)
- Application pool account. (This account runs the Zervicepoint application pool in IIS)
- Select website certificate for Client Web Service. (If it is not visible, make sure it is a valid SSL certificate and that it was imported before running the setup wizard)
- Name of Credential (default is WorkerKey). This identifier is important for Add ProvisioningKey to service account credential store
Now that the worker is installed, the next step is to configure a ProvisioningKey and create a credential in the context of the service account that runs ProvisioningSystem and ProvisioningSystemInventory.
Generate Provisioning Key
- Generate Provisioning Key AdminWeb > Edit Store > Worker Authentication > Generate Key > Save Key > Save

Add ProvisioningKey to service account credential store
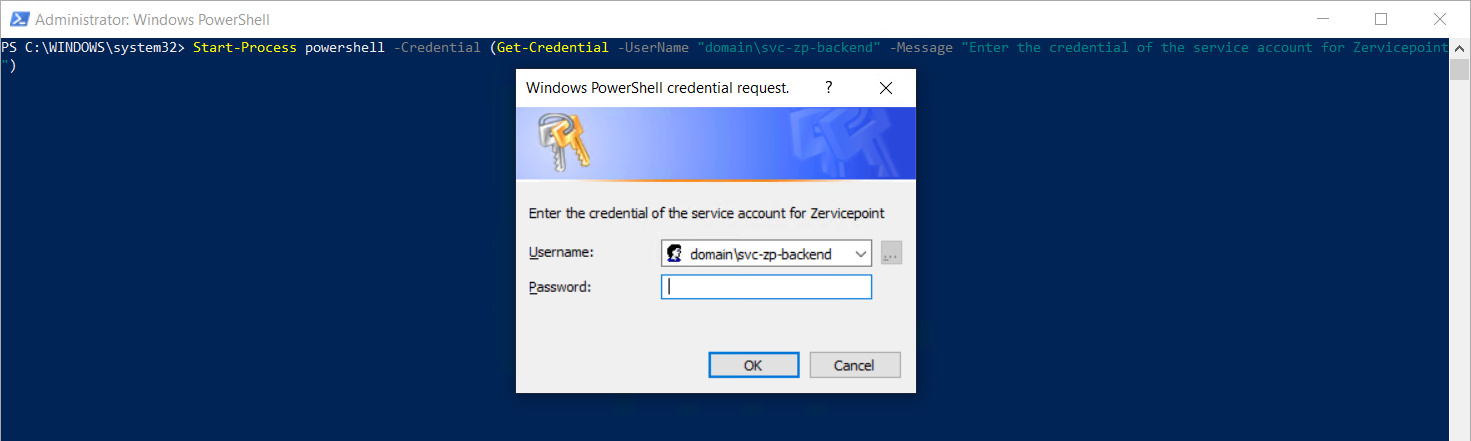
Run Powershell in the context of the service account(s).
Option 1
Start-Process powershell -Credential (Get-Credential -UserName "domain\svc-zp-backend" -Message "Enter the credential of the service account for Zervicepoint")
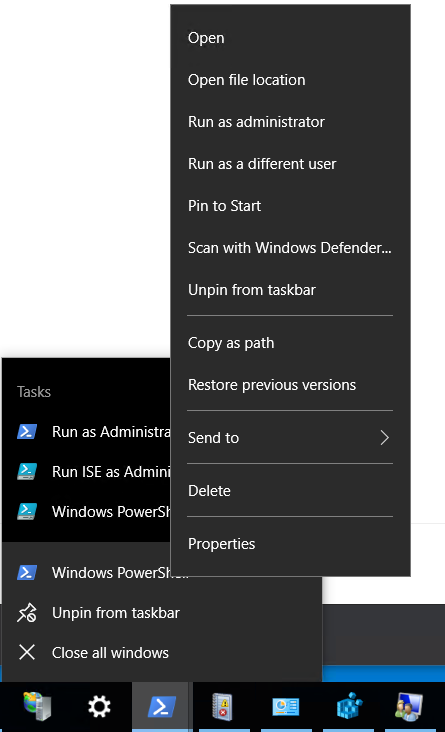
Option 2
Shift-Click on the PowerShell window and click 'Run as a different user'
Then in the context of the service account, import the Zervicepoint Mgmt Api Module and create a credential using the Set-ZPKeyCredential cmdlet.
Import-Module 'C:\Program Files\Zipper\ZervicePoint\Powershell\ZervicePoint.WebApi.PowerShell'

# Note: WorkerKey must changed of you changed the value of the credential when installing Zervicepoint worker
Set-ZPKeyCredential -Name WorkerKey -Key "<provisioning key>"
Start Services
Check the event log "Zervicepoint" in Event Viewer and verify that there are no new error messages.
Next steps
Now that the Worker is installed, we recommend creating a service and a data source in order to ensure that ProvisioningSystem and Client Web Service is working.
- ProvisioningSystem should be able to inventory a custom activity and execute and return data to workflow.
- Client Web Service should be able to respond and return data to a zervicepoint form via either a web service or an dynamic dropdown.
You can use the following guides to create and add a custom activity/data source to your Zervicepoint store.
Having trouble?
Check this help article for common errors when installing worker media.
Still having issues? Please reach out to us via our support page