Setup ProvisioningSystem to authenticate with Key
This guide deals with how to change the authentication method of your Zervicepoint ProvisioningSystem (the worker) from using ADFS to instead use a Key. This is useful in an environment where you do not have access to an ADFS service. This guide has two parts; Generating the key and configuring ProvisioningSystem to use this key.
Instructions
Follow these steps to change the authentication method to Key.
You will need access to the server running the ProvisioningSystem to complete this setup
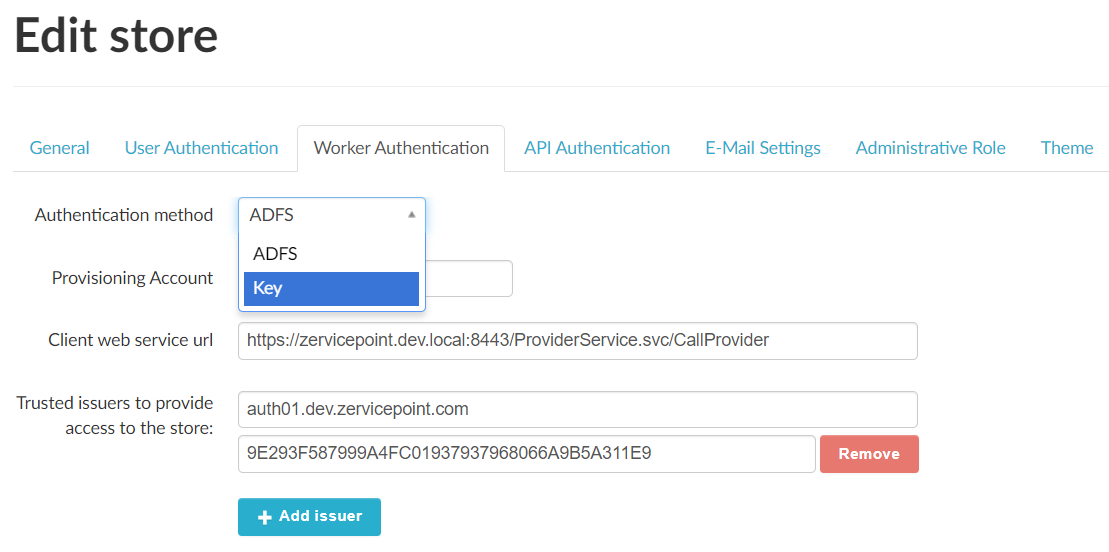
- Go to AdminWeb, Edit Store, Worker Authentication tab
- Click the Authentication method dropdown and select Key
- Click on Generate key and the following modal will be shown

- Make sure you copy the Key as it will only be shown once
-
Click Close
Make sure you click Save
-
You now need to connect to the server running the ProvisioningSystem. Either through RDP or if you can access the file system remotely
-
Open the following file in an editor as Administrator
-
Configure the following keys in the config file:
This tells the ProvisioningSystem to use Key when authenticating towards Zervicepoint
This specifies the name of the credential that stores the Key on the ProvisioningSystem server. More about this below
This specifies URL to the Zervicepoint instance the ProvisioningSystem belongs to
-
The CredentialIdentifier above can have any value as long as there exists a corresponding credential on the server. The credential needs to be created using the service account that runs the ProvisioningSystem. To create this credential you have three options:
-
Use the PowerFrame cmdlet. You need to run PowerShell as the service account that runs the ProvisioningSystem
-
Logon to the server running the ProvisioningSystem with the service account that runs the ProvisioningSystem and create the credential manually. Name must match the config above and the password must be the generated key
- The third option is using our Zervicepoint Powershell API which is described in steps 10 and 11 below
-
-
Run the following line of code to import the module Zervicepoint Powershell Management API (assuming the module is installed in the default location). You need to run PowerShell as the service account that runs the ProvisioningSystem. Import the module
-
Then run the following code to put the key you just generate into a credential called ProvisioningKey (needs to match the name specified in the config file above) Configure the key on the local machine
-
Repeat steps 7 and 8 for ProvisioningSystemInvetory. The config file that needs to be updated is located here:
C:\Program Files\Zipper\ZervicePoint\ClientWebService\Zipper.ZervicePoint.ProvisioningSystem.Inventory.exe.configThe credential identifier and the other two configuration nodes should match the one in ProvisioningSystem
-
Now you need to restart both ProvisioningSystem and ProvisioningSystemInventory for the change to have affect. To do this with PowerShell run the following line