Create your first services
Building your first service
In this tutorial, you’ll create and publish your first service.
Step 1: Create an initial service
Enter the admin web.
Go to Admin web > Services > Add Service > New blank process
Add “MyFirstService” in the Identifier field
Add “My first service” in the Name field
Click Create to conclude and publish the service
Step 2: View your service
To view the service, tab over to the start page in the user view again and search for “my first service”
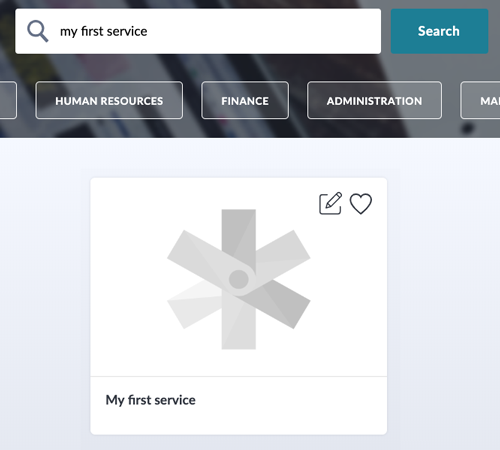
Tip!
If the services is not visible do a refresh of the browser to read up the newly created content 👊⌚️Clicking the edit button
Step 3: Add basic form elements
Head back over to the admin view and go to Services > MyFirstService
In the form editor tab, drag and drop a text field
Step 4: Bind a variable
Click Edit to edit the text field.
Update the identifier field to “Name“.
Click on the dropdown arrow next to Bind to field variable, then select Create new variable. This will create a new string variable based on the Identifier value.
Go to Workflow Editor tab and add a State activity.
In order to bind it to a variable, click on the down arrow and then click bind.
Click Save & publish and then click View published service

Step 5: Run your service
Enter your name in the text field and click Place order
Check the Activity Feed for a new notification

Congratulations 🎉 You’ve built your first service!